







Core requirements
The advanced setup is A, and the budget setup is B.
- Core
- Raise Skeleton 20 · Skeleton Mastery 20 · Corpse Explosion 20
- Cast rate
- A 125% · B 85% ≥ 75%
- Control
- Amplify Damage / Decrepify / Dim Vision
- Resistances
- 75% fire/lightning resistance
Attributes
Total attributes with equipment · hard points shown separately
| Strength | A 156 · B 95Total · meet requirements on both main and swap |
|---|---|
| Dexterity | A Total 35 · B DefaultEquipment requirements only · no maximum block |
| Vitality | All remaining pointsAfter meeting Strength and Dexterity requirements |
| Energy | 0 hard pointsMana potions and Insight |
Attribute calculations and equipment changes
Strength
Do not rely on an item's own Strength to equip it initially, and meet requirements on swap too. Invest only the shortfall after accounting for Enigma and your confirmed charm bonuses. A Spirit on swap also requires 156. B has its highest base requirement at Aldur's Advance's 95 Strength. Meet 91 before equipping Sandstorm Trek without its own Strength bonus; if using Jalal's Mane, meet 65 without its own +20 Strength.
Dexterity
Do not spend additional points to reach 75% shield block. A's Flail requires 35 Dexterity; B's Crystal Sword has no Dexterity requirement. Recheck weapon requirements when changing equipment.
Vitality
Fight behind your mercenary and summons, investing remaining attributes in life. B follows the same principle.
Energy
A and B both recover mana through an Insight mercenary. Use potions if it dies or moves out of range. Mana leech does not apply to poison/bone spells or Corpse Explosion, so do not invest hard points in Energy.
Skills
Level 90 · 101 hard points
Main skills and synergies
Supporting investment
Prerequisite · support 1 point each






Includes 12 quest points; equipment skill bonuses are excluded. Unlisted skills have 0 points. A and B use the same allocation.
Investment order
 Raise Skeleton first, while learning
 Skeleton Mastery·
 Amplify Damage·
 Clay Golem at 1 point each. Then unlock level 24
 Decrepify, level 30
 Revive, with only 1 point in each prerequisite.
- Raise Skeleton 20
- Skeleton Mastery 20
 Corpse Explosion 20
 Dim Vision 20
 Golem Mastery 9.
 Bone Armor·
 Summon Resist·Clay Golem·Revive and prerequisites keep the listed 1 point.
Equipment skill bonuses and allocation notes
The table and image show 101 hard points. Equipment +skills are added separately and do not replace hard points for ordinary synergies.
A and B use the same base allocation. Changing equipment alone does not change the tree.
A·B Shared · Level 90 complete allocation
Open this allocation in the simulator ↗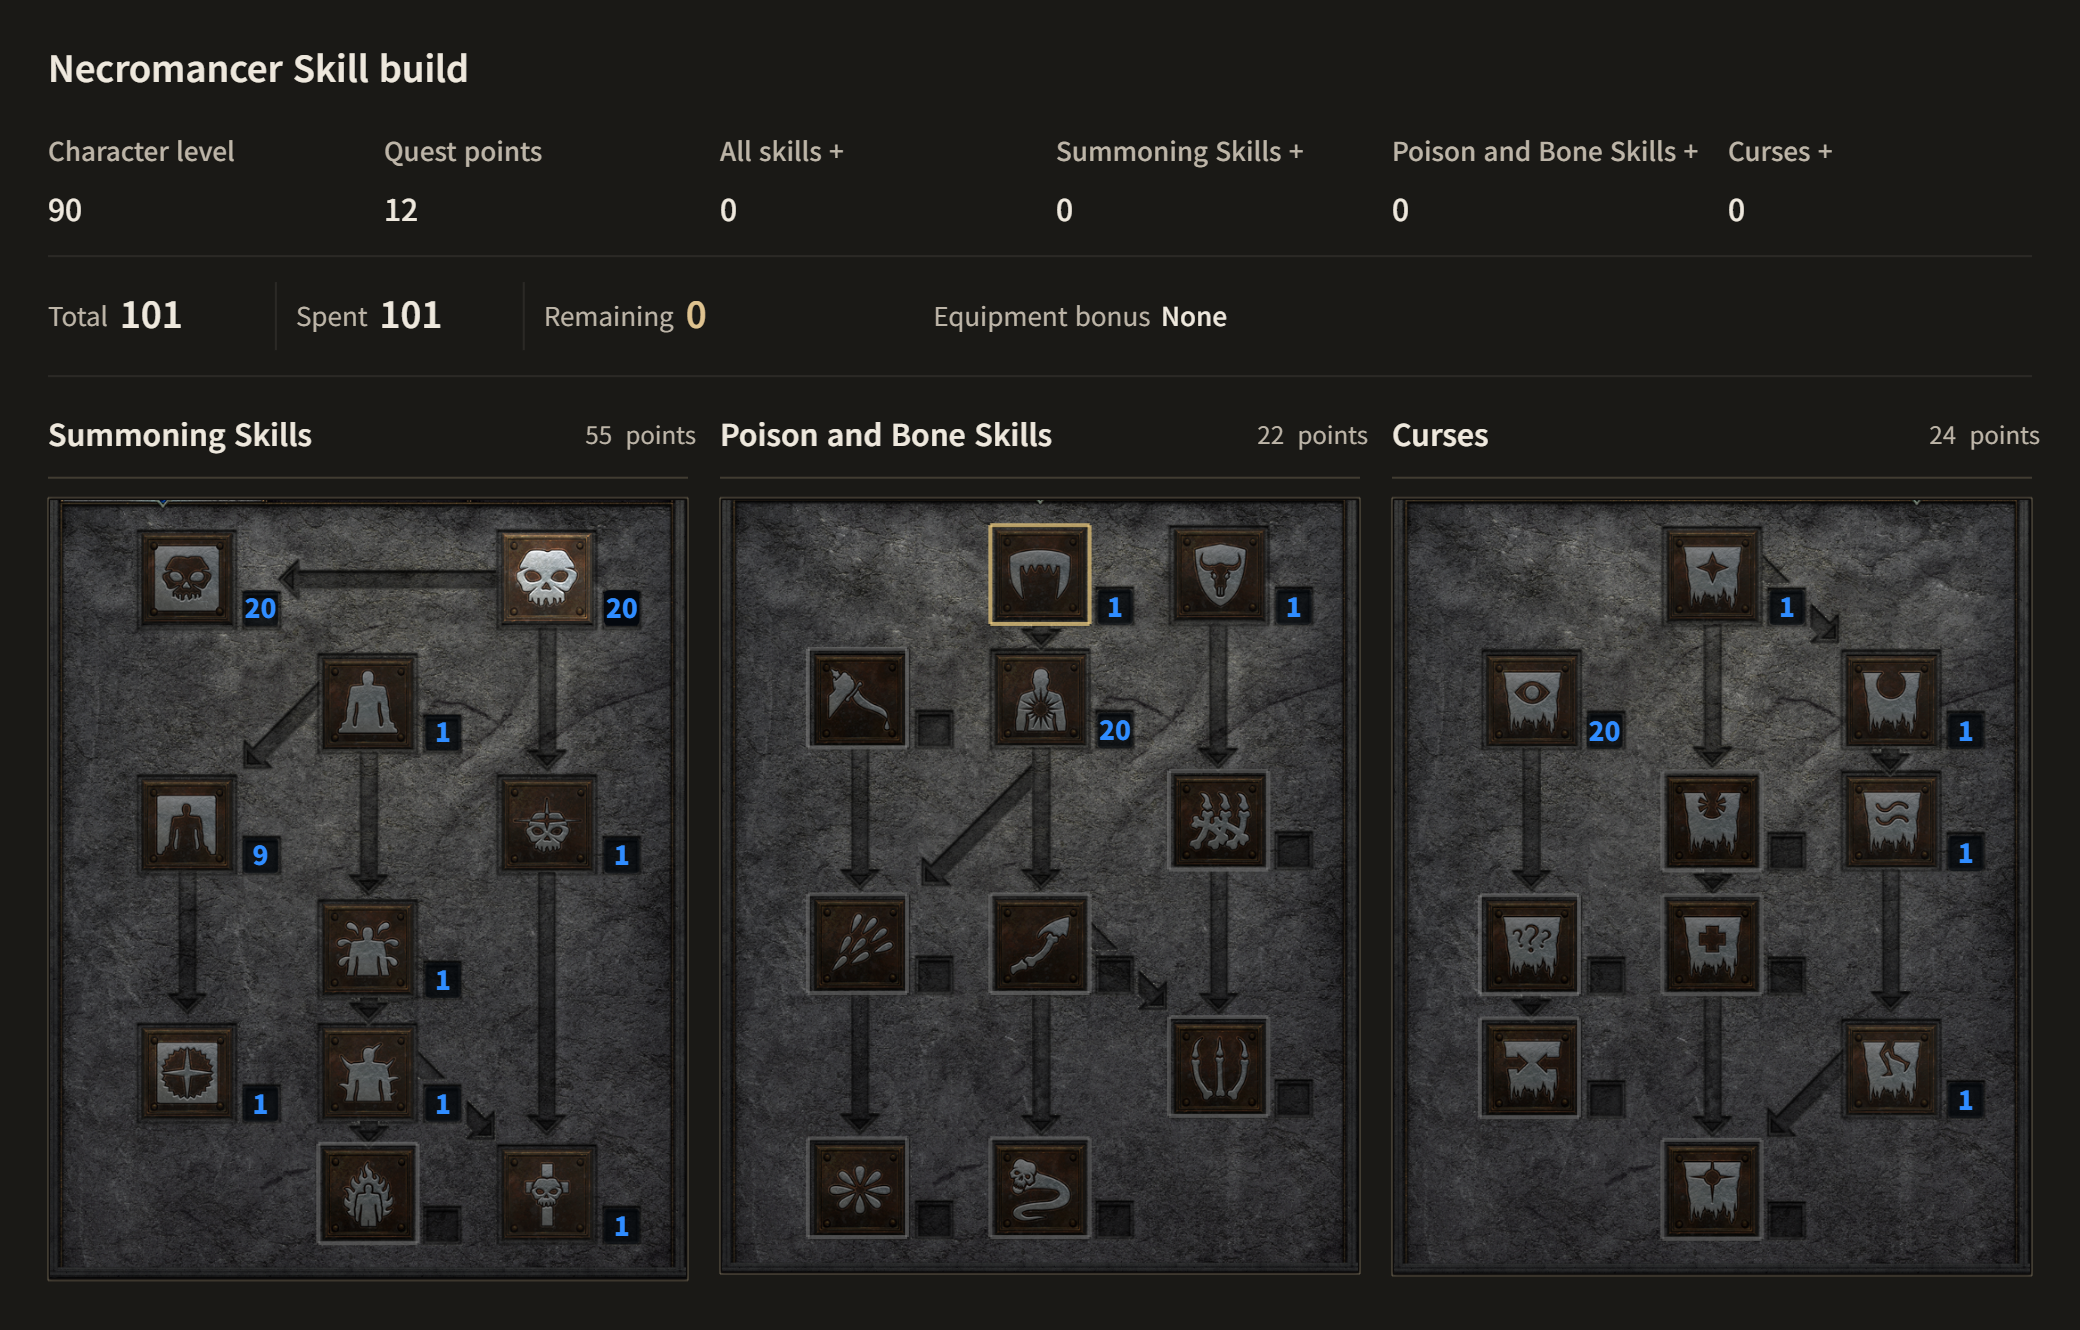
Equipment
A / B: compare modifiers and replacement requirements.
| Slot | Advanced A | Budget B | Conditions |
|---|---|---|---|
| Weapon | A Runeword Heart of the Oak | B Runeword Spirit | B provides damage and enemy resistance reduction; make up resistances with the amulet and charms |
Weapon choice and replacement detailsA · Setup requirementsFlail with 4 sockets +3 to All Skills · 40% Faster Cast Rate · 30–40 all resistances B · Setup requirementsCrystal Sword with 4 sockets +2 to All Skills · at least 25% Faster Cast Rate | |||
| Shield | ARuneword Spirit | B Homunculus | B No cast rate, but resistances and low Strength requirements aid survival |
Shield choice and replacement detailsA · Setup requirementsMonarch with 4 sockets Fixed 35% Faster Cast Rate · +2 skills B · Setup requirements+2 skills · 40 all resistances · Perfect Diamond | |||
| Helm | A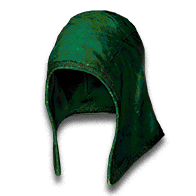 Harlequin Crest | B Runeword Lore | B loses skills and survivability · make runewords in empty ordinary/superior bases |
Helm choice and replacement detailsA · Setup requirementsClass skills and survival modifiers · socket a rune for missing resistance B · Setup requirementsCap with 2 sockets +1 to All Skills · lightning resistance | |||
| Armor | A Runeword Enigma | B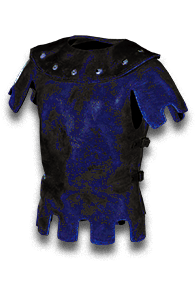 Skin of the Vipermagi | B travels on foot · replace the lost 30% Faster Cast Rate before switching to Enigma |
Armor choice and replacement detailsA · Setup requirementsMage Plate with 3 sockets Teleport · +2 to All Skills · Strength per level B · Setup requirements30% Faster Cast Rate · 20–35 all resistances | |||
| Gloves | A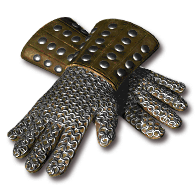 Trang-Oul's Claws | BTrang-Oul's Claws | Maintain the shared cast rate |
Glove choice and replacement detailsA · Setup requirements20% Faster Cast Rate · casting support B · Setup requirements20% Faster Cast Rate | |||
| Belt | A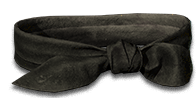 Arachnid Mesh | B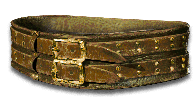 Nightsmoke | B obtains 20% Faster Cast Rate from armor |
Belt choice and replacement detailsA · Setup requirements20% Faster Cast Rate · +1 to All Skills B · Setup requirements10 all resistances · mana | |||
| Boots | A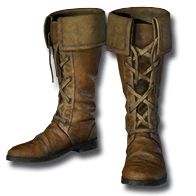 Sandstorm Trek | B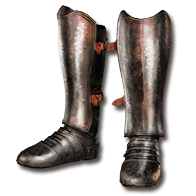 Aldur's Advance | B strengthens fire resistance · A needs fire resistance charms |
Boot choice and replacement detailsA · Setup requirements20% Faster Hit Recovery · 40–70 poison resistance B · Setup requirements40–50 fire resistance · 40% Faster Run/Walk | |||
| Amulet | A Mara's Kaleidoscope | BRare Necromancer amulet | B prioritizes missing fire/lightning resistance over skills |
Amulet choice and replacement detailsA · Setup requirements+2 to All Skills · 20–30 all resistances | |||
| Ring 1 | ARare caster ring | BRare caster ring | A 40+35+20+20+10=125% · B 25+30+20+10=85% |
| Ring 2 | A The Stone of Jordan | BRare resistance ring | If total Faster Cast Rate is short, B ring 2 should also be replaced with 10% Faster Cast Rate |
Ring 2: choice and replacement detailsA · Setup requirements+1 to All Skills · mana | |||
Mercenary and weapon swap
| Slot | Advanced A | Budget B | Conditions |
|---|---|---|---|
| Mercenary | A Act 2 Might  Runeword InsightEthereal elite polearmRuneword Fortitude  Andariel's Visage(Ral) | B Act 2 Might Runeword InsightRuneword Treachery Tal Rasha's Horadric Crest | Maintain aura range and mercenary survival |
Mercenary detailsDeveloping an Insight mercenaryUpgrade the Insight mercenary to an ethereal elite polearm to improve first-kill damage. Use Ral in Andariel's Visage to offset its -30 fire resistance; Tal Rasha's Horadric Crest can be equipped from level 66. A: when switching to another weapon, prioritize retaining its aura or enemy resistance reduction. | |||
| Weapon swap | A Runeword Call to ArmsCrystal SwordRuneword SpiritMonarch | B Staff with Teleport charges | A Battle Command → Battle Orders; B is for escaping dangerous areas |
Swap detailsCharge managementMonitor Teleport charges and repair gold. You lose shield resistances while holding the staff, so do not land in the middle of enemies. | |||
Upgrade order
- Secure the mercenary's first-kill damage with Insight and a life-leech helm
- Acquire Raise Skeleton/Skeleton Mastery equipment and fire/lightning resistance
- Prepare 125% Faster Cast Rate with Heart of the Oak, 35% Spirit, Arachnid Mesh and a caster ring
- Obtain Enigma for army regrouping and movement
- Add Call to Arms, Hellfire Torch and Summoning Skills charms
Playstyle
- Preparing to farm
Use Clay Golem and the mercenary to kill weak enemies, then raise the maximum number of skeletons. A prepares in this order: Battle Command → summon the golem and skeletons with main equipment → Battle Orders. Recast Battle Orders after adding Revives or new skeletons so the new summons receive it too. B starts by preparing summons without warcries.
- Ordinary packs
Cast Amplify Damage on the pack and repeatedly use Corpse Explosion once the first corpse appears. Leave corpses to explode instead of spending all of them on skeletons or Revives.
- Bosses
Maintain Decrepify and Clay Golem's slow, and gather skeletons and the mercenary near the boss. Corpses are scarce in boss fights, so secure physical weapon damage for the mercenary.
- Handling immunes
Check whether Amplify Damage breaks physical immunity. If it does not, use the fire portion of Corpse Explosion from nearby ordinary monsters. Bypass physical/fire dual immunes or isolated enemies with no corpses.
- Ranged threats
Cast Dim Vision on archers and Souls at the screen edge before approaching. Overwrite it with Amplify Damage on melee packs to start explosions; do not expect blind to affect bosses or Champions.
- B Farming and transition
You can level with summons from level 1. Start with Nightmare Baal and the Hell Pit; split packs in narrow corridors or regroup with Teleport charges. Uber fights without corpses are not the default farming target.
Mechanics and notes
Damage after the first kill
Skeletons and the mercenary create the first corpse, and Corpse Explosion expands the clear. Its level primarily increases radius; 20 points let one corpse clear a wider area.
Switch curses to suit the situation
Amplify Damage lowers physical resistance, while Decrepify reduces boss speed and physical damage. Multiple curses do not all remain active on one enemy, so manage ranged blind and combat curses by area.
Clay Golem is the default
Clay Golem can be resummoned without consuming an item. Sacrificing an expensive runeword to Iron Golem is not part of the baseline.
Strengths, limitations and farming style
Strengths
The army and curses allow progression with little starting equipment.
Once Corpse Explosion starts, dense packs clear quickly.
Limitations
Depends on the first corpse and mercenary survival.
Narrow corridors and boss fights without corpses are slow.
Additional variants
Insight Iron Golem
Keep Golem Mastery and Summon Resist, and replace Clay Golem with an Iron Golem made from a cheap Insight. The item is lost if the golem dies or disappears; choose this only after becoming comfortable with Clay Golem. The mercenary can then use Infinity or another weapon.
Player-wielded Beast
Beast supports the physical attacks of skeletons and the mercenary, but loses Heart of the Oak's 40% Faster Cast Rate, resistances and skills. Decide whether to leave the 125% baseline or compensate elsewhere, and finish Enigma and the mercenary before this expensive change.