








Core requirements
The advanced setup is A, and the budget setup is B.
- Poison tree
- Poison Nova, Dagger and Explosion: 20 each
- Required
- Trang-Oul gloves, shield and belt
- Cast rate
- A 75% · B 90% ≥ 75%
- Immunities
- Lower Resist plus enemy poison resistance reduction
Attributes
Total attributes with equipment · hard points shown separately
| Strength | A 91 · B 95Total · excludes the boots' own Strength bonus |
|---|---|
| Dexterity | 0 hard pointsEquipment requirements only · no maximum block |
| Vitality | All remaining pointsAfter meeting Strength and Dexterity requirements |
| Energy | 0 hard pointsMana potions and Insight |
Attribute calculations and equipment changes
Strength
Do not rely on an item's own Strength to equip it initially, and meet requirements on swap too. Invest only the shortfall after accounting for Enigma and your confirmed charm bonuses. A requires 91 for Trang-Oul's Girth and Sandstorm Trek; B meets Aldur's Advance's 95 requirement. A Use Lidless Wall instead of a Monarch on swap. Meet 91 before deducting Sandstorm Trek's own +10–15 Strength.
Dexterity
White wands and Death's Web do not require extra Dexterity investment. The baseline prioritizes Vitality rather than maximum shield block.
Vitality
Fight behind your mercenary and summons, investing remaining attributes in life. B follows the same principle.
Energy
A and B both recover mana through an Insight mercenary. Use potions if it dies or moves out of range. Mana leech does not apply to poison/bone spells or Corpse Explosion, so do not invest hard points in Energy.
Skills
Level 90 · 101 hard points
Main skills and synergies
Supporting investment
Prerequisite · support 1 point each







Includes 12 quest points; equipment skill bonuses are excluded. Unlisted skills have 0 points. A and B use the same allocation.
Investment order
Level initially with skeletons or  Teeth·
 Bone Spear.
 Poison Nova is available at level 30, but respeccing around level 62 with poison synergies and 3 Trang-Oul pieces is more stable than switching immediately.
- Poison Nova 20
 Poison Explosion 20
 Poison Dagger 20
 Corpse Explosion 20
 Bone Wall 9.
 Lower Resist and all curse prerequisites,
 Clay Golem, its mastery, resistance and
 Bone Armor have 1 point.
Equipment skill bonuses and allocation notes
The table and image show 101 hard points. Equipment +skills are added separately and do not replace hard points for ordinary synergies.
A and B use the same base allocation. Changing equipment alone does not change the tree.
A·B Shared · Level 90 complete allocation
Open this allocation in the simulator ↗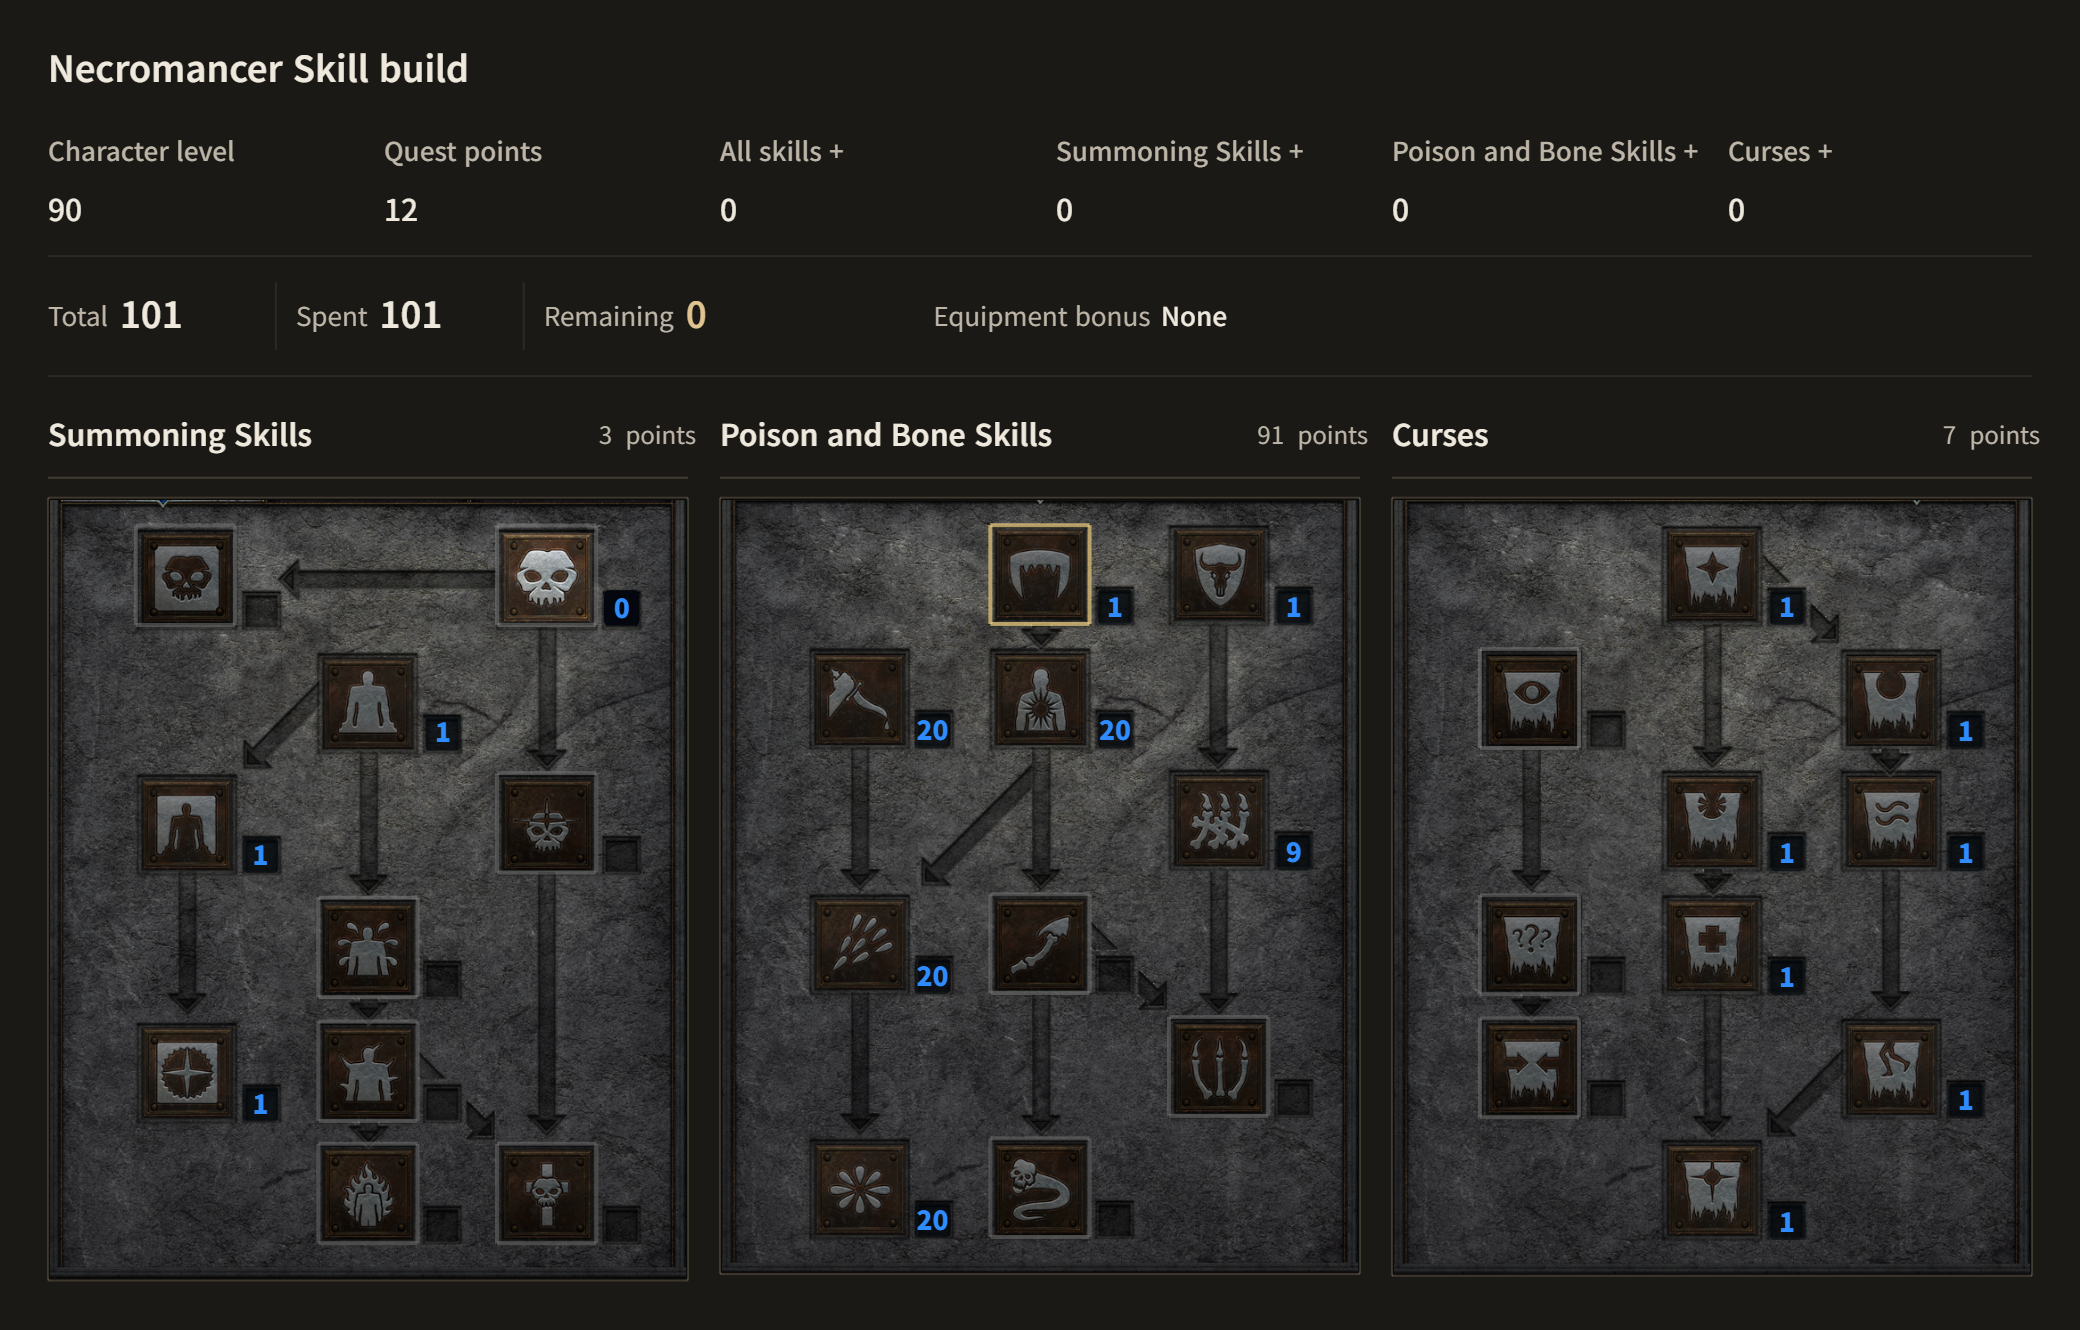
Equipment
A / B: compare modifiers and replacement requirements.
| Slot | Advanced A | Budget B | Conditions |
|---|---|---|---|
| Weapon | A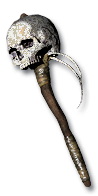 Death's Web | B Runeword White | B loses substantial enemy poison resistance reduction, slowing immune kills |
Weapon choice and replacement detailsA · Setup requirements-40–50% Enemy Poison Resistance · prioritize +2 Poison and Bone Skills B · Setup requirementsOrdinary Bone Wand with 2 sockets +3 Poison and Bone Skills · 20% Faster Cast Rate SocketPut a poison Rainbow Facet in Death's Web's empty socket. White can start without Poison Nova on its base; a +Poison Nova base is a further upgrade. | |||
| Shield | A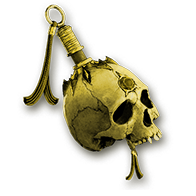 Trang-Oul's Wing | BTrang-Oul's Wing | Shared core · -25% is not active from this item alone |
Shield choice and replacement detailsA · Setup requirements-25% Enemy Poison Resistance with 3 pieces · +2 Poison and Bone Skills B · Setup requirementsUse a Perfect Diamond for resistances | |||
| Helm | ARare Necromancer caster helm | B Runeword Lore | A 20% Faster Cast Rate required · B compensates through armor and weapon |
Helm choice and replacement detailsB · Setup requirementsCap with 2 sockets +1 to All Skills · lightning resistance | |||
| Armor | A Runeword Enigma | B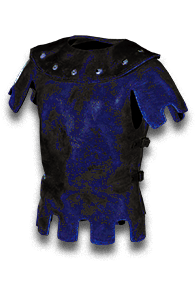 Skin of the Vipermagi | B travels on foot · changing only armor lowers the cast-rate breakpoint |
Armor choice and replacement detailsA · Setup requirementsMage Plate with 3 sockets Teleport · +2 to All Skills B · Setup requirements30% Faster Cast Rate · all resistances | |||
| Gloves | A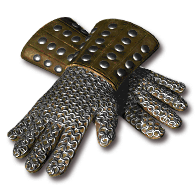 Trang-Oul's Claws | BTrang-Oul's Claws | Shared core · first of 3 set pieces |
Glove choice and replacement detailsA · Setup requirements20% Faster Cast Rate · +25% Poison Skill Damage B · Setup requirements+25% Poison Skill Damage | |||
| Belt | A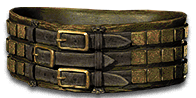 Trang-Oul's Girth | BTrang-Oul's Girth | Shared core · do not replace it alone with Arachnid Mesh |
Belt choice and replacement detailsA · Setup requirementsCannot Be Frozen · life · 3 set pieces B · Setup requirementsCold resistance from the 3-piece bonus | |||
| Boots | A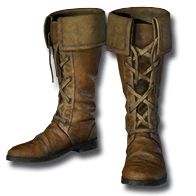 Sandstorm Trek | B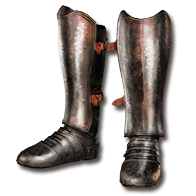 Aldur's Advance | A First compensate for the Sunder Charm's poison resistance penalty |
Boot choice and replacement detailsA · Setup requirements40–70% poison resistance · 20% Faster Hit Recovery B · Setup requirements40–50% fire resistance · Faster Run/Walk | |||
| Amulet | ACrafted Necromancer caster amulet | BRare Necromancer amulet | A Keep at least 15% Faster Cast Rate · B prioritizes resistances |
| Ring 1 | ARare caster ring | BRare caster ring | A·B 10% Faster Cast Rate |
| Ring 2 | ARare caster ring | BRare caster ring | A 20+20+15+10+10=75% · B 20+30+20+10+10=90% |
Mercenary and weapon swap
| Slot | Advanced A | Budget B | Conditions |
|---|---|---|---|
| Mercenary | A Act 2 Might  Runeword InsightEthereal elite polearmRuneword Fortitude  Andariel's Visage(Ral) | B Act 2 Might Runeword InsightRuneword Treachery Tal Rasha's Horadric Crest | Maintain aura range and mercenary survival |
Mercenary detailsDeveloping an Insight mercenaryUpgrade the Insight mercenary to an ethereal elite polearm to improve first-kill damage. Use Ral in Andariel's Visage to offset its -30 fire resistance; Tal Rasha's Horadric Crest can be equipped from level 66. A: when switching to another weapon, prioritize retaining its aura or enemy resistance reduction. | |||
| Weapon swap | A Runeword Call to ArmsCrystal Sword 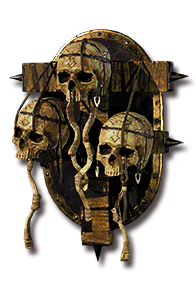 Lidless Wall | B Staff with Teleport charges | Lidless Wall avoids investing 156 Strength for a Monarch |
Upgrade order
- Acquire 3 Trang-Oul pieces, White and 75% Faster Cast Rate
- Improve enemy poison resistance reduction with Death's Web
- Compensate poison resistance and add a Sunder Charm
- Obtain a 2/20 helm, an amulet with at least 15% Faster Cast Rate and two rings before Enigma
- Add poison Rainbow Facets, Call to Arms and Poison and Bone Skills charms
Playstyle
- Preparing to farm
Prepare Clay Golem, Bone Armor and Call to Arms warcries. If using a Sunder Charm, check poison resistance in the character sheet first.
- Ordinary packs
Use Lower Resist → one Poison Nova → reposition. Once the first corpse appears, repeatedly use Corpse Explosion to clear the survivors.
- Bosses
Maintain Lower Resist and hit with another Poison Nova as the poison expires. Instead of spamming it, spend time protecting the mercenary and resummoning the golem.
- Handling immunes
A sunders immunity with Rotting Fissure, then applies enemy poison resistance reduction from Death's Web and 3 Trang-Oul pieces. B uses poison only when Lower Resist breaks immunity; otherwise obtain the first corpse with the mercenary and use Corpse Explosion, or bypass the enemy.
- B Farming areas
Start where poison can reliably produce the first corpse, such as the Hell Pit. Do not leave the mercenary fighting alone for long when poison immunes/high-resistance packs overlap with resurrecting monsters.
- Transition requirements
Transition with sufficient points in Poison Nova and both synergies, wearing Trang-Oul shield, gloves and belt together. Before Death's Web, keep to B's suitable farming areas.
Mechanics and notes
Poison damage does not stack through repeated casts
Poison Nova deals damage over roughly 2 seconds. Repeated casts do not keep stacking poison, so weave in curses, repositioning and Corpse Explosion.
Why keep 3 pieces
Combine Trang-Oul's Claws' +25% Poison Skill Damage with the Wing's 3-piece -25% Enemy Poison Resistance bonus. Changing the belt removes the shield's core modifier.
Resistance reduction after sundering
Sundering poison immunity sets enemy resistance to 95%. Lower Resist works at 1/5 effectiveness against a sundered immune. Enemy poison resistance reduction from Death's Web and the set bonus applies to your own poison attacks. Conviction does not lower poison resistance.
Corpse Explosion's role
Corpse Explosion deals physical/fire damage and is not directly strengthened by poison resistance-reduction equipment. Chaining corpses uses different resistance types from poison damage.
Strengths, limitations and farming style
Strengths
Poison and Corpse Explosion quickly clear dense packs in low-player-count games.
B also retains the core set bonus.
Limitations
The high-end weapon and crafted equipment needed to maintain 75% Faster Cast Rate are expensive.
Poison immunes and single bosses are slow for B.
Additional variants
Spirit/Arachnid Mesh at 125% Faster Cast Rate
A separate setup drops 3 Trang-Oul pieces to reach 125% Faster Cast Rate. It sacrifices -25% enemy poison resistance, so do not replace the baseline shield and belt individually.
Summoning support
Recover 9 Bone Wall points and put 6 points into Raise Skeleton 1, Skeleton Mastery 1, Raise Skeletal Mage 1, Blood Golem 1, Iron Golem 1 and Revive 1, plus another 3 in Golem Mastery. This is a separate variant trading away Bone Armor absorption.