




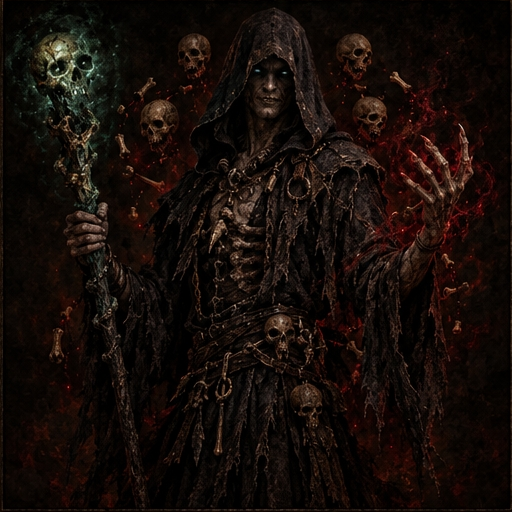



 Demon Summoner
Core requirements
The advanced setup is A, and the budget setup is B.
- Hard points
- Level 90 · 101 points
- Capture tier
- 20 hard points in Bind Demon · Superuniques eligible
- Summon slots
- Maximum 3
- Cast rate
- A 75% / B 105%
Attributes
Total attributes with equipment · hard points shown separately
| Strength | Before equipping A 55 / B 95Hard points A 10 / B 80 · keep Enigma equipped |
|---|---|
| Dexterity | 0 hard pointsNo maximum block |
| Vitality | A 450 / B 380 hard pointsIncludes 15 attribute quest points |
| Energy | 0 hard pointsA Potions and gear / B Insight |
Attribute calculations and equipment changes
Strength
A first meets Mage Plate Enigma's 55 Strength requirement with base 15 + Torch 15 + Annihilus 15 + 10 allocated points. Equip the grimoire and boots after receiving Enigma's +67 Strength at level 90. B has base 15 + 80 allocated = 95, using a Spirit Crystal Sword, a low-requirement grimoire and light armor. Removing Enigma may disable A gear. A uses a conservative allocation calculated before equipping armor, excluding extra attributes from the selected gear. Actual total Strength after equipping it exceeds 55.
Dexterity
A uses Beast in a Double Axe, and B uses a Spirit Crystal Sword; neither requires Dexterity. Pair with a grimoire and do not invest in maximum block.
Vitality
At level 90, put the remaining points from the 460 total attribute points into Vitality after the Strength allocation above. If the weapon or base changes, recalculate requirements and put only the remaining points into Vitality.
Energy
A has a Reaper's Toll mercenary without Meditation; sustain summons and healing with gear Mana, Mana after Each Kill and potions. B uses an Insight mercenary's Meditation to support Mana recovery.
Skills
Level 90 · 101 hard points
Main skills and synergies

Prerequisite · support 1 point each








Includes 12 quest points; equipment skill bonuses are excluded. Unlisted skills have 0 points. A and B use the same allocation.
Investment order
Progress with Goatmen and  Death Mark, then increase
 Demonic Mastery to 5 and 10 hard points for additional summon slots.
Raise Summon Goatman and Demonic Mastery· Blood Oath, and complete 20 hard points in Bind Demon. At level 90, the allocation includes Death Mark 12 and 9 support points.
At 91–98, invest in Death Mark 20; at 99, raise  Engorge 2. Do not describe the default as a Tainted-centered hybrid.
Equipment skill bonuses and allocation notes
This is a defined Goatman-centered setup; Summon Tainted has only 1 prerequisite point for Bind Demon.
The 20 Bind Demon and 20 Demonic Mastery points are all hard points. Skill bonuses cannot replace the capture tier or the 3-demon summon count.
A·B Shared · Level 90, 101 points
Open this allocation in the simulator ↗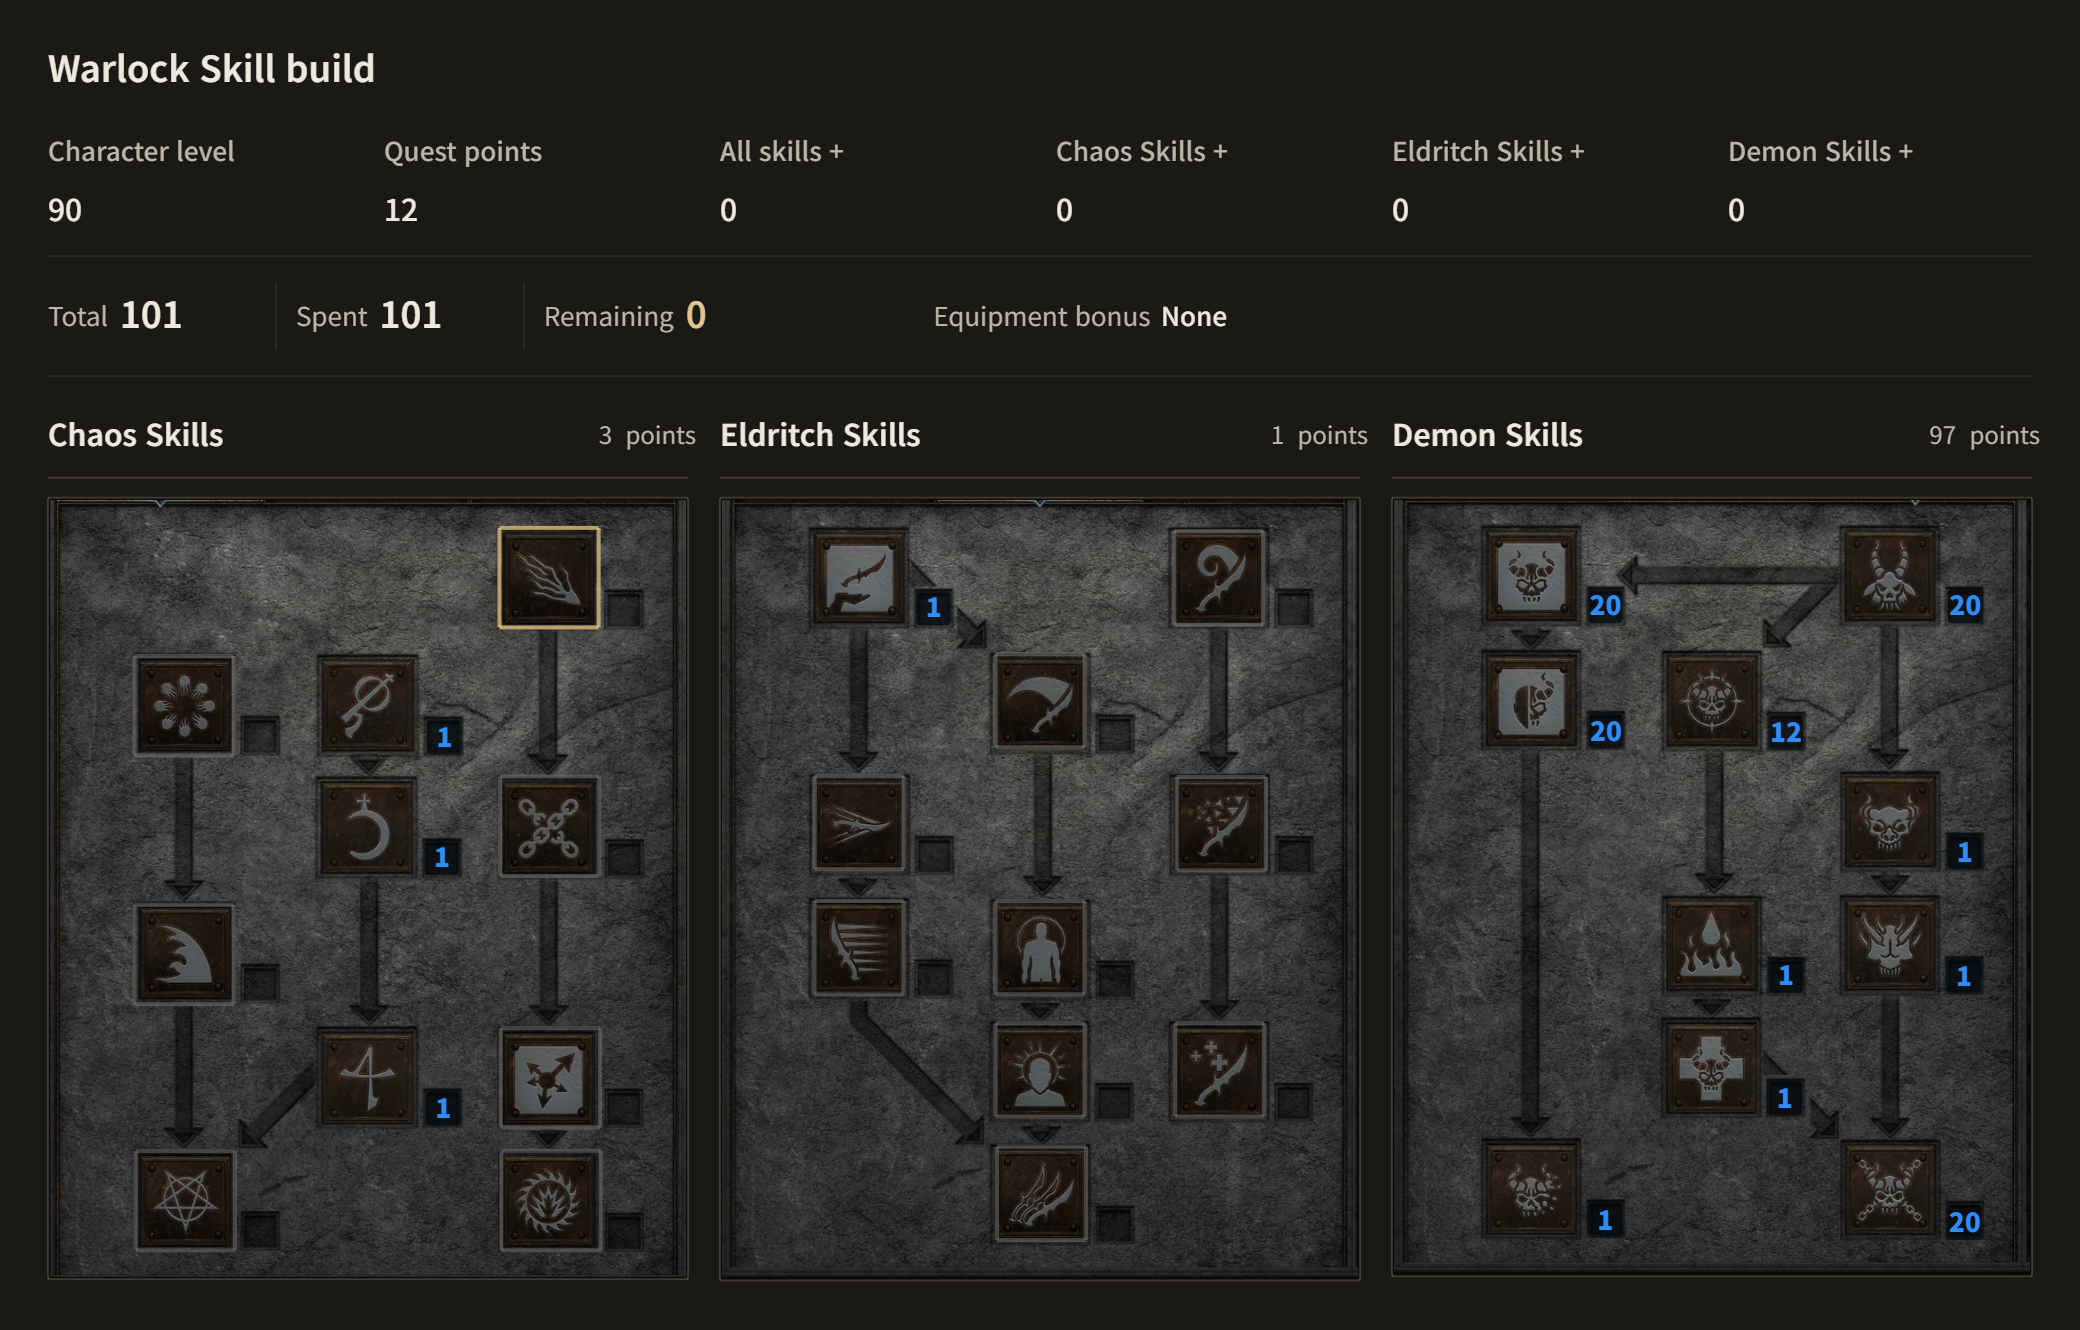
Equipment
A / B: compare modifiers and replacement requirements.
| Slot | Advanced A | Budget B | Conditions |
|---|---|---|---|
| Weapon | A Runeword Beast | B Runeword Spirit | A Fanaticism strengthens melee demons |
Weapon choice and replacement detailsA · Setup requirements5-socket Double Axe Level 9 Fanaticism when equipped B · Setup requirements4-socket Crystal Sword Target 35% Faster Cast Rate Selection rationale and replacementsBeast is used for Fanaticism to support melee demons, not for your own weapon damage, so make it in a low-requirement Double Axe. B uses Spirit's skills, FCR and Mana. | |||
| Grimoire / off-hand | A Ars Tor'Baalos | BRuneword Splendor | A Demonic Mastery · Engorge · survivability |
Grimoire / off-hand choices and swapsA · Setup requirementsDemonic Mastery · Engorge · Life B · Setup requirements2-socket grimoire requiring no more than 60 Strength +1 skills · 10% Faster Cast Rate Selection rationale and replacementsWhen wielding a two-handed weapon in one hand, the other hand must hold a grimoire. B uses a grimoire base for Splendor instead of a regular shield. | |||
| Helm | A Harlequin Crest | B Runeword Lore | A +2 to Summoning Skills / B +1 skills |
Helm choice and replacement detailsA · Setup requirements+2 to Skills · Life · Mana B · Setup requirements2-socket light helm +1 skills · lightning resistance Selection rationale and replacementsChoose skills and resistance reduction for your actual main damage source: Magic, Fire or summons. | |||
| Armor | A Runeword Enigma | B Skin of the Vipermagi | A Regroup summons / B Resistances · FCR |
Armor choice and replacement detailsA · Setup requirements3-socket Mage Plate Teleport · +2 to All Skills B · Setup requirements30% Faster Cast Rate · all resistances Selection rationale and replacementsUse Enigma to move both yourself and your summons together. B does not assume the same Teleport convenience. | |||
| Gloves | A Magefist | BMagefist | 20% FCR for your Mark and Engorge casts |
Glove choice and replacement detailsA · Setup requirements20% Faster Cast Rate · mana regeneration B · Setup requirements20% Faster Cast Rate · mana regeneration Selection rationale and replacements20% FCR improves responsiveness when summoning, casting Sigils and moving. | |||
| Belt | A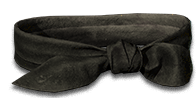 Arachnid Mesh | B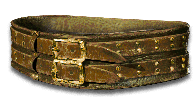 Nightsmoke | A 75% FCR setup / B Resistances |
Belt choice and replacement detailsA · Setup requirements20% Faster Cast Rate · +1 to All Skills B · Setup requirements10 All Resistances · Mana Selection rationale and replacementsDamage Taken Goes to Mana does not refund all Mana spent. | |||
| Boots | A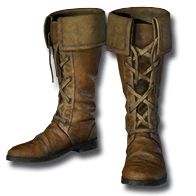 Sandstorm Trek | BFaster Run/Walk and resistance boots | Improve your movement and Poison Resistance |
Boot choice and replacement detailsA · Setup requirementsPoison Resistance · Life · Hit Recovery Selection rationale and replacementsFirst secure movement speed and resistances to escape packs. | |||
| Amulet | AWarlock FCR amulet | BWarlock skill amulet | A 15% FCR required · +2 to Skills |
Amulet choice and replacement detailsSelection rationale and replacementsObtain both skills and resistances while keeping the FCR specified in the table. | |||
| Ring 1 | AFCR and resistance ring | BCast rate/mana/resistance ring | A·B 10% FCR · fill resistance gaps |
Ring 1: choice and replacement detailsSelection rationale and replacementsInclude this ring's FCR in the actual total. | |||
| Ring 2 | ACast rate/mana ring | BMana/resistance ring | A 10% Faster Cast Rate for 75% total |
Ring 2: choice and replacement detailsSelection rationale and replacementsEnemy Magic Resistance reduction affects your own Magic damage; it does not automatically transfer to summons. | |||
Mercenary and weapon swap
| Slot | Advanced A | Budget B | Conditions |
|---|---|---|---|
| Mercenary | A Act 2 Might 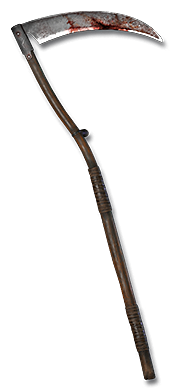 The Reaper's TollRuneword Fortitude  Andariel's Visage | B Act 2 Might  Runeword InsightRuneword Treachery  Tal Rasha's Horadric Crest | Distinguish Might, Fanaticism and Concentration |
Mercenary detailsOperating requirementsA Do not add together Fanaticism from your Beast and the same aura on a bound demon. Reaper's Toll's Decrepify lowers Physical Resistance, but does not always break immunity. | |||
| Bound demon / swap | A Demon with Might → Concentration after binding, or a Holy Freeze demon | B Demon with Conviction/Fanaticism → Fanaticism after binding, or a defensive demon | Verify the actual demon type and Unique modifiers |
Bound demon / swap detailsOperating requirementsAfter binding, Might becomes Concentration and Conviction becomes Fanaticism. Verify the aura on the actual demon; a specific name alone does not guarantee it. Call to Arms plus a Splendor grimoire is for support buffs. | |||
Upgrade order
- B Use gear to secure Summoning skills, at least 75% FCR and resistances.
- After obtaining a strong bound demon, improve mercenary survivability and acquire Reaper's Toll.
- Add Enigma for regrouping and Beast for Fanaticism.
- A maintains Magefist 20 + Arachnid Mesh 20 + amulet 15 + rings 10+10 = 75%.
Playstyle
- Choose a demon
A seeks Concentration or Holy Freeze demons to support melee Physical summons.
Demon selection details
Details
The target must be a demon and its Life must be sufficiently low. Even 20 hard points for Superunique capture do not make every monster capturable.
- Maintain the bound demon
Keep one bound demon and Goatmen within the slot limit.
Bound demon maintenance details
Details
A bound demon persists between games, but check for death or replacement. Confirm your selection to avoid accidentally Consuming a strong demon.
- Concentrate
Use Death Mark to send summons after dangerous ranged enemies first.
Focus-fire details
Details
A can regroup and reposition both you and your summons with Enigma.
- Restore Life
Use Engorge on corpses to heal demons.
Life recovery details
Details
When corpses are scarce, reposition instead of standing in front and tanking yourself.
- Physical immunes
A Lower resistance with the mercenary's Decrepify; if that is not enough, deal with other enemies first.
Physical immunity details
Details
B has Insight without Decrepify, so bypassing Physical immunities may be necessary.
- Finish enemies
Finish weakened enemies with Sigil: Death.
Finishing details
Details
Sigil: Lethargy's increased damage taken effect has been removed; do not count it as a simple damage amplifier.
- Leveling
Rely mainly on summoned Goatmen until completing 20 Bind Demon.
Leveling details
Details
Capture tiers require hard points: 10 for Champions, 15 for Uniques and 20 for Superuniques.
Mechanics and notes
Capture tiers
Since 3.2, Bind Demon requires 10 hard points for Champions, 15 for Uniques and 20 for Superuniques. Your +Skills cannot meet these thresholds.
Auras after binding
Might → Concentration, Conviction → Fanaticism, Fanaticism → Fanaticism, and Holy Freeze stays unchanged. This does not use the early-release combination that retained Conviction on a bound demon to break immunities.
Different kinds of speed
Your FCR affects summoning, Marks and movement casts. Do not mix summon attack speed from Demonic Mastery, Engorge or Fanaticism into your FCR total.
Damage and healing patch
Uses behavior after the Bind Demon bonus-damage fix in 3.3. Blood Oath does not transfer all damage you take; Engorge uses corpses to heal.
Strengths, limitations and farming style
Strengths
Direct targets without entering melee yourself.
Change your party role by choosing the bound demon and aura.
Limitations
You need to find a good demon to bind and manage your summons.
Physical immunities and complicated terrain can slow clearing.
Additional variants
Capture only up to Uniques
Move 5 points from Bind Demon 20→15 to Death Mark 12→17, keeping 101 total points. Superuniques cannot be captured, so do not list Lister or other Superuniques in this setup.
Tainted-centered option
Move 19 points from Summon Goatman 20→1 to Summon Tainted 1→20. The main damage type and aura effectiveness change; redesign gear around +Skills and Fire damage handling instead of Beast.