






Core requirements
The advanced setup is A, and the budget setup is B.
- Hard points
- Level 90 · 101 points
- Cast rate
- A 145% / B 105%
- Entropy
- A 20 including gear
- Damage type
- Magic · not Poison damage
Attributes
Total attributes with equipment · hard points shown separately
| Strength | Before equipping A 55 / B 95Hard points A 10 / B 80 · keep Enigma equipped |
|---|---|
| Dexterity | 0 hard pointsNo maximum block |
| Vitality | A 450 / B 380 hard pointsIncludes 15 attribute quest points |
| Energy | 0 hard pointsInsight, potions and Mana after Each Kill |
Attribute calculations and equipment changes
Strength
A first meets Mage Plate Enigma's 55 Strength requirement with base 15 + Torch 15 + Annihilus 15 + 10 allocated points. Equip the grimoire and boots after receiving Enigma's +67 Strength at level 90. B has base 15 + 80 allocated = 95, using a Spirit Crystal Sword, a low-requirement grimoire and light armor. Removing Enigma may disable A gear. A uses a conservative allocation calculated before equipping armor, excluding extra attributes from the selected gear. Actual total Strength after equipping it exceeds 55.
Dexterity
A Void in a Kris requires 45 Dexterity, met by base 20 + Torch 15 + Annihilus 15 = 50. B Spirit in a Crystal Sword and the grimoire require no Dexterity, so allocate none.
Vitality
At level 90, put the remaining points from the 460 total attribute points into Vitality after the Strength allocation above. If the weapon or base changes, recalculate requirements and put only the remaining points into Vitality.
Energy
Gear and an Insight mercenary supply the Mana needed to chain Consume, summons and attacks. If you temporarily invested in Energy while leveling, reclaim those points with your final respec.
Skills
Level 90 · 101 hard points
Main skills and synergies

Prerequisite · support 1 point each






Includes 12 quest points; equipment skill bonuses are excluded. Unlisted skills have 0 points. A and B use the same allocation.
Investment order
 Miasma Bolt first, then unlock
 Miasma Chain·
 Abyss in sequence. Focus on learning Chain placement rather than conserving Mana potions.
Raise the 3 main skills to 20, then fill  Consume 20·
 Demonic Mastery 10 and 5 Entropy to complete the level 90, 101-point allocation.
Equipment skill bonuses and allocation notes
The base Entropy allocation is 5 hard points, not 20. A adds +15 to Chaos Skills to reach 20 total. Do not add more hard points to aim beyond that.
Bind Demon has 0 base points. This tree does not support capturing Unique demons.
A·B Shared · Level 90, 101 points
Open this allocation in the simulator ↗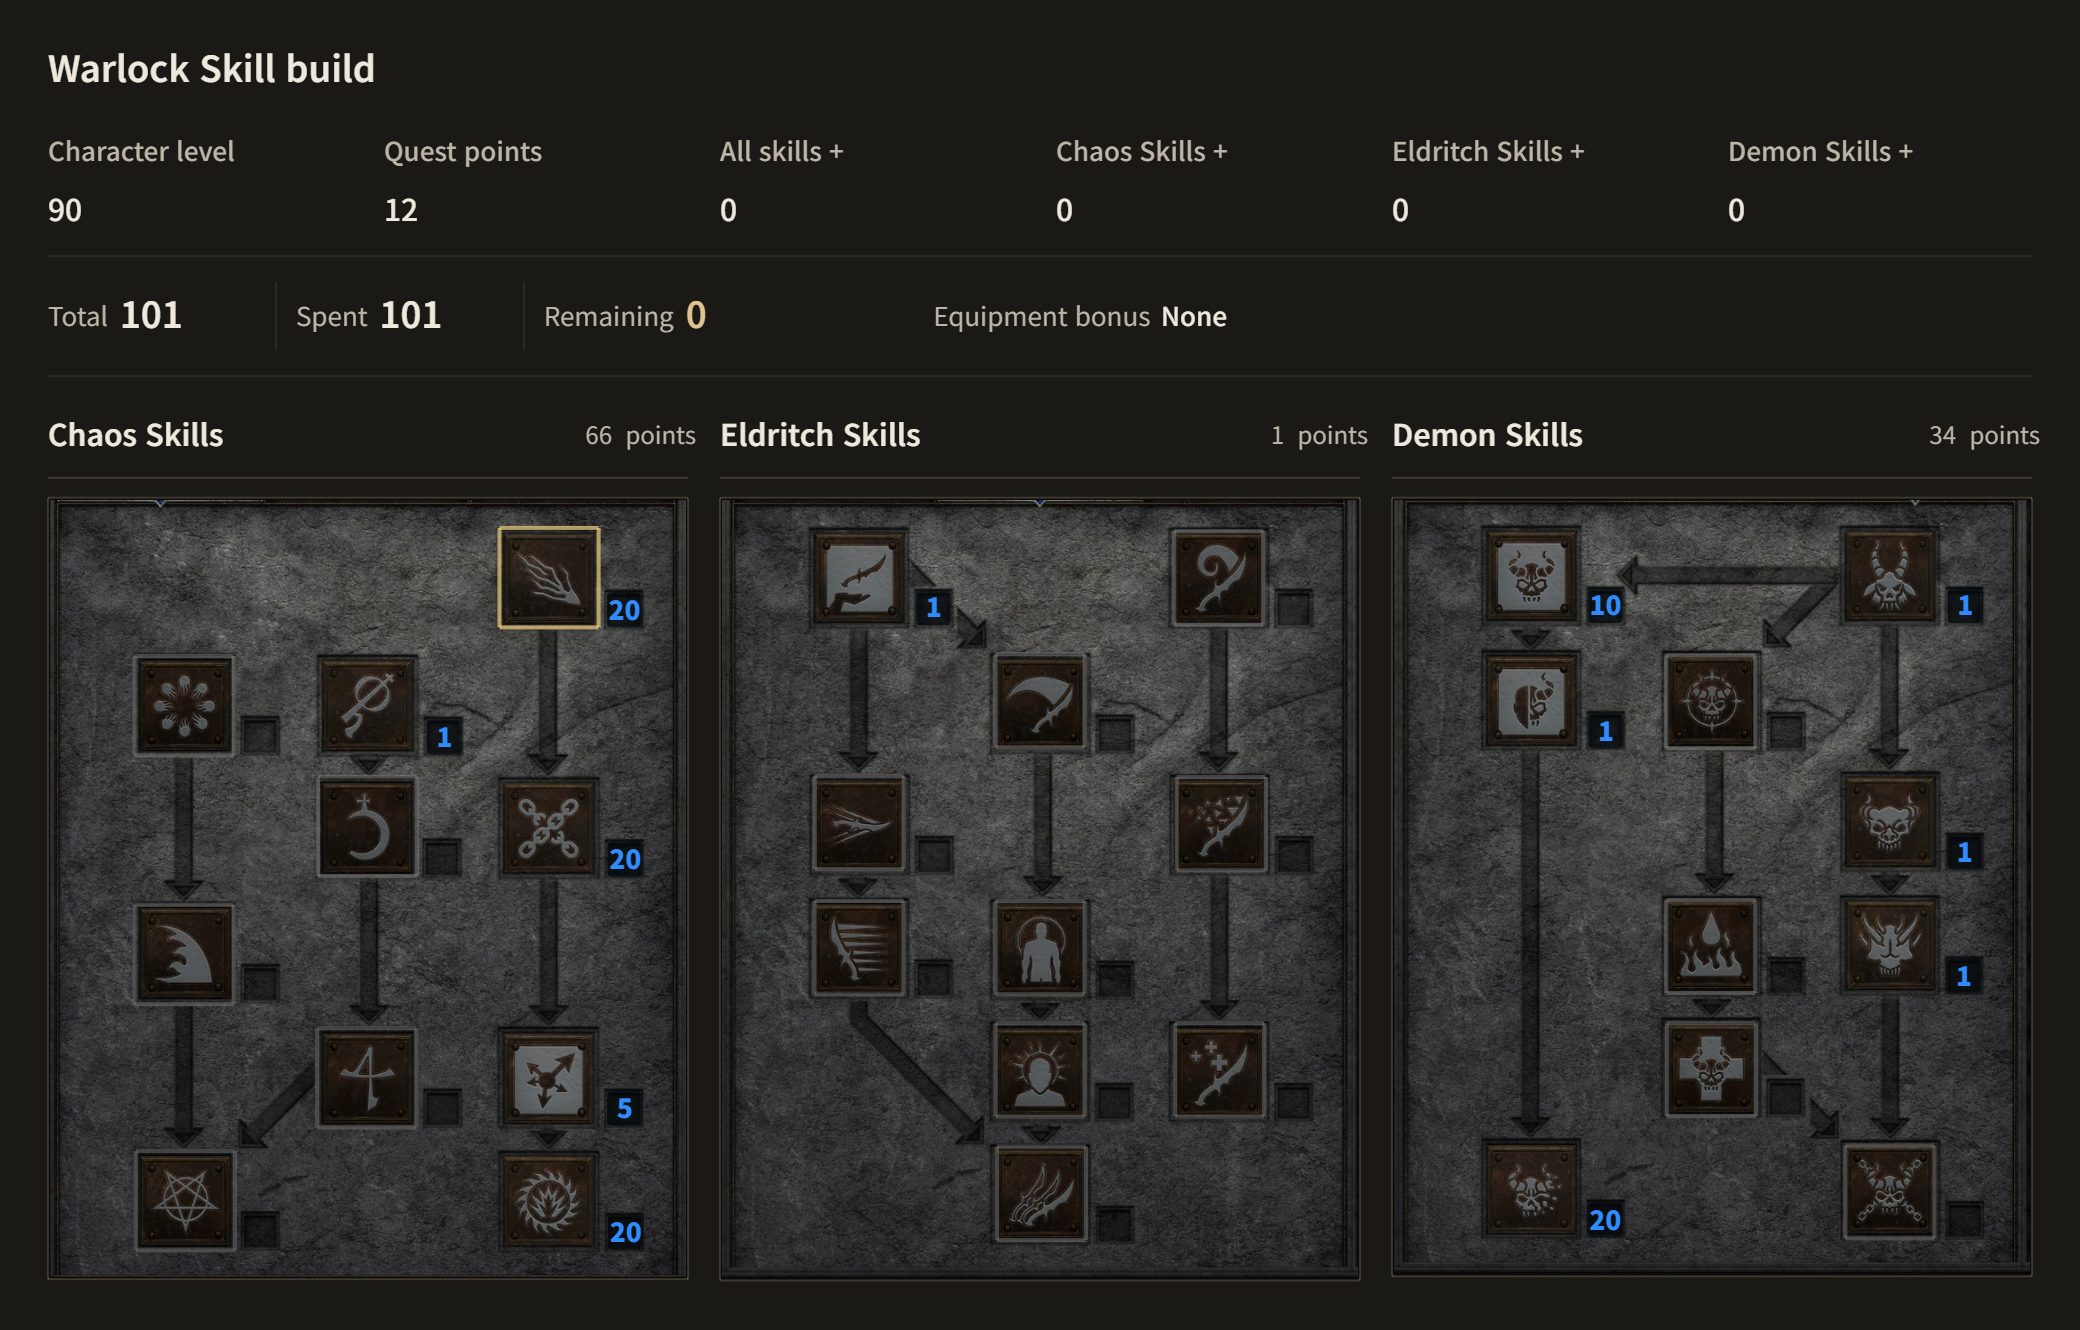
Equipment
A / B: compare modifiers and replacement requirements.
| Slot | Advanced A | Budget B | Conditions |
|---|---|---|---|
| Weapon | A Runeword Void | B Runeword Spirit | A Magic damage · 40 FCR / B Skills · Mana |
Weapon choice and replacement detailsA · Setup requirements3-socket Kris 40% FCR · Magic damage · +2 to All Skills B · Setup requirements4-socket Crystal Sword Target 35% Faster Cast Rate Selection rationale and replacementsFor direct spell damage, prioritize skills, casting speed and reduction of the relevant enemy resistance. | |||
| Grimoire / off-hand | A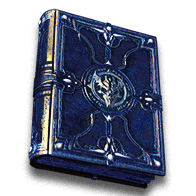 Ars Dul'Mephistos | BRuneword Splendor | A Enemy Magic Resistance reduction · at least 25 FCR |
Grimoire / off-hand choices and swapsA · Setup requirementsAt least 25% FCR · Enemy Magic Resistance reduction B · Setup requirements2-socket grimoire requiring no more than 60 Strength +1 skills · 10% Faster Cast Rate Selection rationale and replacementsWhen wielding a two-handed weapon in one hand, the other hand must hold a grimoire. B uses a grimoire base for Splendor instead of a regular shield. | |||
| Helm | A Hellwarden's Will | B Runeword Lore | A Magic Resistance reduction / B +1 skills |
Helm choice and replacement detailsA · Setup requirements20% FCR · Enemy Magic/Fire Resistance reduction B · Setup requirements2-socket light helm +1 skills · lightning resistance Selection rationale and replacementsChoose skills and resistance reduction for your actual main damage source: Magic, Fire or summons. | |||
| Armor | A Runeword Enigma | B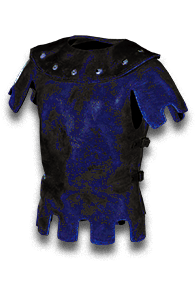 Skin of the Vipermagi | A Teleport · regroup / B 30% Faster Cast Rate |
Armor choice and replacement detailsA · Setup requirements3-socket Mage Plate Teleport · +2 to All Skills B · Setup requirements30% Faster Cast Rate · all resistances Selection rationale and replacementsUse Enigma to move both yourself and your summons together. B does not assume the same Teleport convenience. | |||
| Gloves | A Magefist | BMagefist | 20% FCR improves Chain placement speed |
Glove choice and replacement detailsA · Setup requirements20% Faster Cast Rate · mana regeneration B · Setup requirements20% Faster Cast Rate · mana regeneration Selection rationale and replacements20% FCR improves responsiveness when summoning, casting Sigils and moving. | |||
| Belt | A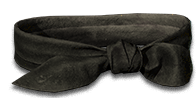 Arachnid Mesh | B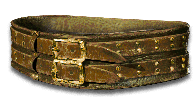 Nightsmoke | A 125% breakpoint / B Resistances and mana |
Belt choice and replacement detailsA · Setup requirements20% Faster Cast Rate · +1 to All Skills B · Setup requirements10 All Resistances · Mana Selection rationale and replacementsDamage Taken Goes to Mana does not refund all Mana spent. | |||
| Boots | A Sandstorm Trek | BFaster Run/Walk and resistance boots | Poison Resistance, movement and survivability |
Boot choice and replacement detailsA · Setup requirementsPoison Resistance · Life · Hit Recovery Selection rationale and replacementsFirst secure movement speed and resistances to escape packs. | |||
| Amulet | A Mara's Kaleidoscope | BWarlock skill amulet | A +2 to All Skills supports Entropy |
Amulet choice and replacement detailsA · Setup requirements+2 to All Skills · at least 20 All Resistances Selection rationale and replacementsObtain both skills and resistances while keeping the FCR specified in the table. | |||
| Ring 1 | A Sling | BCast rate/mana/resistance ring | A Magic Resistance reduction / B 10% Faster Cast Rate |
Ring 1: choice and replacement detailsA · Setup requirements10% FCR · Enemy Magic Resistance reduction Selection rationale and replacementsInclude this ring's FCR in the actual total. | |||
| Ring 2 | ASling | BMana/resistance ring | A Additional Magic Resistance reduction / B Survival |
Ring 2: choice and replacement detailsA · Setup requirements10% FCR · Enemy Magic Resistance reduction Selection rationale and replacementsEnemy Magic Resistance reduction affects your own Magic damage; it does not automatically transfer to summons. | |||
Mercenary and weapon swap
| Slot | Advanced A | Budget B | Conditions |
|---|---|---|---|
| Mercenary | A Act 2 Prayer  Runeword InsightRuneword Fortitude  Andariel's Visage | B Act 2 Prayer Runeword InsightRuneword Treachery Tal Rasha's Horadric Crest | Distinguish your damage types from your summons' |
Mercenary detailsOperating requirementsInsight sustains Mana; Might supports Physical damage. If you choose Infinity, Conviction lowers only Fire, Cold and Lightning Resistance, not Magic or Physical Resistance. Supply the mercenary with Life leech and resistances. | |||
| Weapon swap | A Runeword Call to ArmsRuneword SplendorTome | B Keep main weapon and grimoire | Does not assume an extra 156 Strength for a Monarch |
Swap detailsOperating requirementsReturn to the main weapon after Battle Command and Battle Orders. A grimoire's skill bonuses cannot replace the hard points required for Demonic Mastery's summon count or Bind Demon's capture tier. | |||
Upgrade order
- Exceed 75% FCR with Spirit, Splendor and Skin of the Vipermagi.
- First establish Defiler Consume, 10 Demonic Mastery and mercenary survivability.
- Add Magic damage and Enemy Magic Resistance reduction with Void and Ars Dul'Mephistos.
- After switching to Enigma, Hellwarden's Will and Arachnid Mesh, A reach 145% FCR and 20 total Entropy.
Playstyle
- Buffs
Summon Defilers, Consume one, and maintain the remaining demons.
Buff details
Details
10 hard points in Demonic Mastery provide 3 slots. A consumed demon still occupies a slot; avoid losing the buff by summoning beyond the limit.
- Guide the pack
Place Miasma Chain along the paths of enemies slowed by Sigil: Lethargy.
Pack guidance details
Details
Lead enemies through the Miasma clouds instead of repeatedly casting at the same spot.
- Gather and burst
Place Abyss ahead of enemies, then follow with Chain and Bolt.
Gathering and burst details
Details
Use another skill or reposition during Abyss's casting delay.
- Immune enemies
Handle Magic-immune enemies with Physical attacks from your Insight mercenary and Goatmen.
Immune-enemy details
Details
Infinity's Conviction does not lower Magic Resistance. The Magic-immune resurrected monsters in Baal's second wave need separate handling.
- Maintain distance
A repositions with Enigma; B keeps its distance by walking and using Sigils.
Distance-management details
Details
B The tree does not include Blade Warp, so Teleport is not assumed as a built-in movement skill.
- Leveling
Use an early Spirit and Splendor grimoire for FCR and Mana.
Leveling details
Details
Check Entropy including gear bonuses; decide on extra points only when changing gear.
Mechanics and notes
Actual damage type
Despite the Miasma name, Bolt, Chain and Abyss primarily deal Magic damage. Enemy Poison Resistance reduction does not enhance them.
Chain stacking
Current Chains impose a next-hit restriction between clouds created by each individual Chain. Do not include early-version double ticks or unlimited stacking in damage calculations.
Consume and area coverage
Consuming a Defiler strengthens Magic attacks; Entropy adjusts area and duration. Direct damage synergies come from hard points in Bolt, Chain and Abyss.
FCR total
A 40+25+20+20+20+10+10=145%, reaching the 125% / 9-frame breakpoint. B 35+10+30+20+10=105%, reaching the 75% / 10-frame breakpoint.
Strengths, limitations and farming style
Strengths
Magic damage is less affected by ordinary elemental immunities.
Chain and Abyss control enemy movement paths.
Limitations
You need to understand ground placement and damage over time.
Magic immunities and summon-slot management require separate handling.
Additional variants
Budget option: prioritize area
Lower Consume from 20→11 to reclaim 9 points, then raise Entropy from 5→14; the total remains 101. The Consume buff weakens in exchange for improving B area coverage. This differs from the illustrated default allocation.
Add a bound demon
Bind Demon requires separate points in prerequisites such as Death Mark, Blood Boil and Engorge, plus hard points in Bind Demon. A Unique demon cannot be added for free while keeping the default Consume and Entropy allocations.