

Core requirements
The advanced setup is A, and the budget setup is B.
- Main attack
- Hammer, Vigor, Blessed Aim and Concentration: 20 each
- Cast rate
- A 125% · B 110% ≥ 75%
- Block
- 75% after Holy Shield
- Resistances
- Fire/lightning 75%
Attributes
Total attributes with equipment · hard points shown separately
| Strength | A91 · B95Meet requirements, including bonuses |
|---|---|
| Dexterity | 75% blockAfter casting Holy Shield |
| Vitality | All remaining pointsAfter equipment and block requirements |
| Energy | 0 hard pointsInsight, potions and Redemption |
Attribute calculations and equipment changes
Strength
Meet only the specified bases' Strength requirements. Check attributes from Enigma, shield, Hellfire Torch and Annihilus; equip in an order that does not rely on an item's own bonus to meet its requirement.
Dexterity
With primary gear and Holy Shield active, raise the character-screen block chance to 75%. Recheck after leveling or changing shields. Running reduces block effectiveness; walk or stand still during close combat.
Vitality
A and B puts all remaining points into life. B has fewer gear bonuses and needs more hard Strength/Dexterity points; respeccing after switching to A can recover Vitality.
Energy
Spell builds use potions and Insight. Melee builds also need no hard Energy investment because mana costs are low. Keep potions for mana-burn enemies.
Skills
Level 90 · 101 hard points
Main skills and synergies
Supporting investment
Prerequisite · support 1 point each






Includes 12 quest points; equipment skill bonuses are excluded. Unlisted skills have 0 points. A and B use the same allocation.
Investment order
Until level 12,  Holy Fire·
 Zeal for leveling, then respec to Hammer at levels 18–24. Unlock Hammer and
 Concentration; at level 24, obtain
 Holy Shield, level 30
 Redemption at 1 point.
 Blessed Hammer20
 Vigor20
 Blessed Aim20
- Concentration20
- Holy Shield13. Each prerequisite receives 1 point; keep Concentration active while farming.
At levels 91–97, invest in Holy Shield20; at levels 98–99,  Resist Lightning with 2 points to improve base maximum Resist Lightning.
Equipment skill bonuses and allocation notes
The table and image show 101 hard points. Equipment +skills are added separately and do not replace hard points for ordinary synergies.
A and B use the same base allocation. Changing equipment alone does not change the tree.
A·B Shared · Level 90 complete allocation
Open this allocation in the simulator ↗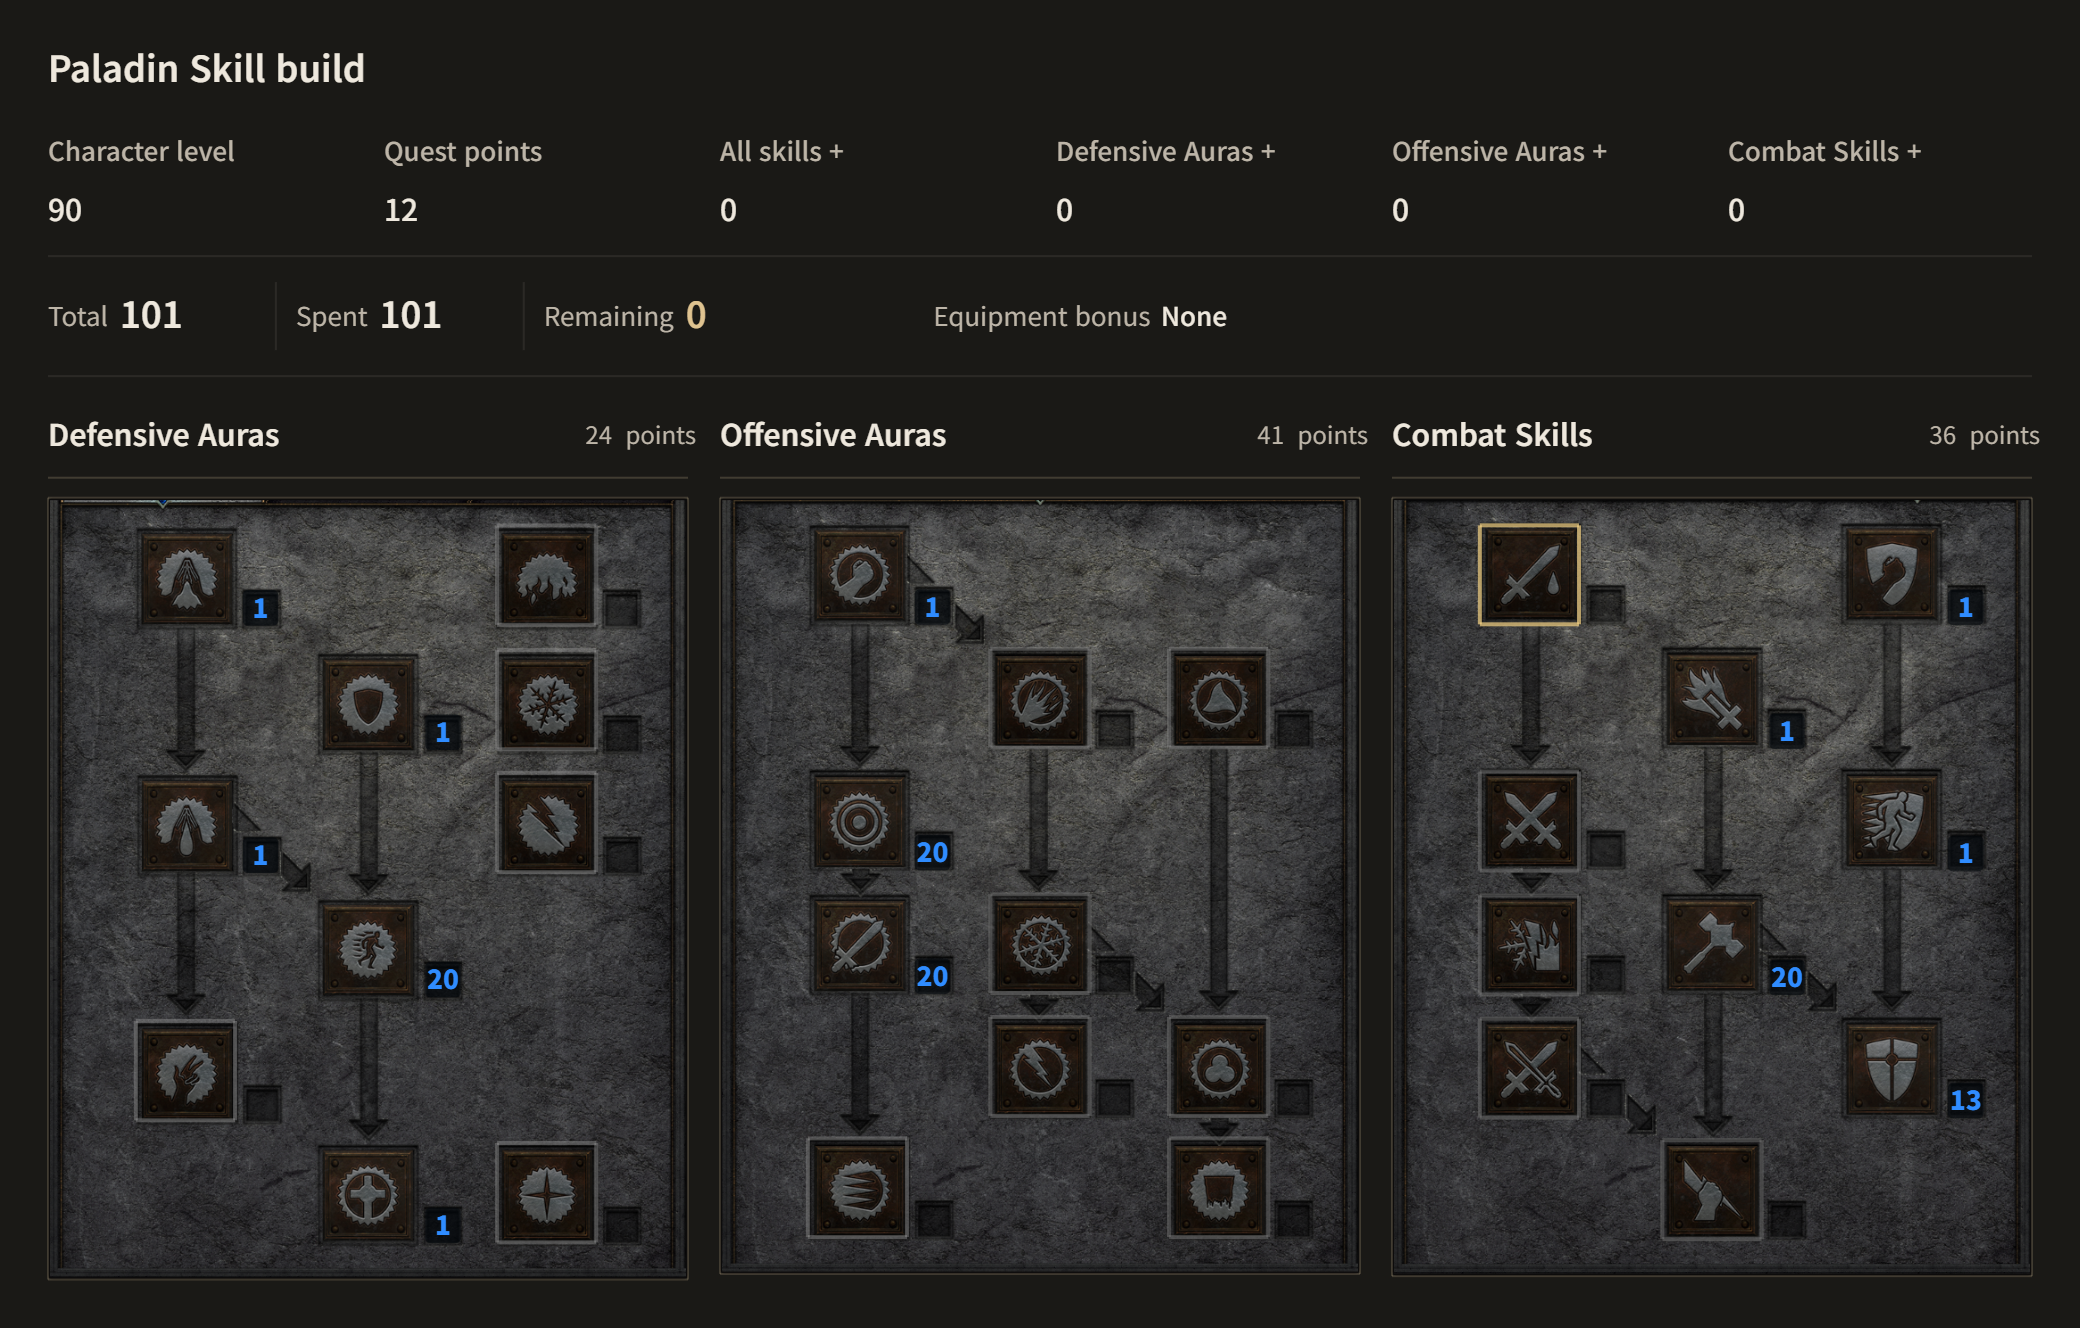
Equipment
A / B: compare modifiers and replacement requirements.
| Slot | Advanced A | Budget B | Conditions |
|---|---|---|---|
| Weapon | A Runeword Heart of the Oak | B Runeword Spirit | B provides damage and enemy resistance reduction; make up resistances with the amulet and charms |
Weapon choice and replacement detailsA · Setup requirementsFlail with 4 sockets +3 to All Skills · 40% Faster Cast Rate · 30–40 all resistances B · Setup requirementsCrystal Sword with 4 sockets +2 to All Skills · at least 25% Faster Cast Rate | |||
| Shield | ARuneword Spirit | BRuneword Spirit | 86 Strength · runeword and base resistances stack · fire gets only base resistance |
Shield choice and replacement detailsA · Setup requirements4-socket Sacred Targe 35% FCR · at least 35 base All Resistances B · Setup requirements4-socket Sacred Targe At least 25% FCR · at least 35 base All Resistances | |||
| Helm | A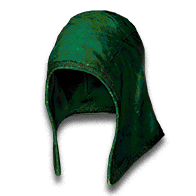 Harlequin Crest | B Runeword Lore | B loses skills and survivability · make runewords in empty ordinary/superior bases |
Helm choice and replacement detailsA · Setup requirementsClass skills and survival modifiers · socket a rune for missing resistance B · Setup requirementsCap with 2 sockets +1 to All Skills · lightning resistance | |||
| Armor | A Runeword Enigma | B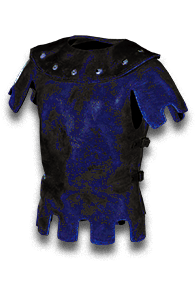 Skin of the Vipermagi | B travels on foot · replace the lost 30% Faster Cast Rate before switching to Enigma |
Armor choice and replacement detailsA · Setup requirementsMage Plate with 3 sockets Teleport · +2 to All Skills · Strength per level B · Setup requirements30% Faster Cast Rate · 20–35 all resistances | |||
| Gloves | A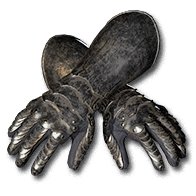 Magefist | BMagefist | Maintain the shared cast rate |
Glove choice and replacement detailsA · Setup requirements20% Faster Cast Rate · casting support B · Setup requirements20% Faster Cast Rate | |||
| Belt | A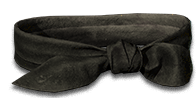 Arachnid Mesh | B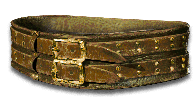 Nightsmoke | B obtains 20% Faster Cast Rate from armor |
Belt choice and replacement detailsA · Setup requirements20% Faster Cast Rate · +1 to All Skills B · Setup requirements10 all resistances · mana | |||
| Boots | A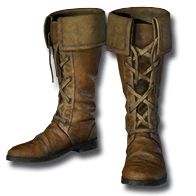 Sandstorm Trek | B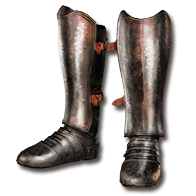 Aldur's Advance | B strengthens fire resistance · A needs fire resistance charms |
Boot choice and replacement detailsA · Setup requirements20% Faster Hit Recovery · 40–70 poison resistance B · Setup requirements40–50 fire resistance · 40% Faster Run/Walk | |||
| Amulet | A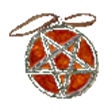 Mara's Kaleidoscope | BRare Paladin amulet | B prioritizes missing fire/lightning resistance over skills |
Amulet choice and replacement detailsA · Setup requirements+2 to All Skills · 20–30 all resistances | |||
| Ring 1 | ARare caster ring | BRare caster ring | A 40+35+20+20+10=125% · B Minimum 110% |
| Ring 2 | A The Stone of Jordan | BRare resistance ring | If total Faster Cast Rate is short, B ring 2 should also be replaced with 10% Faster Cast Rate |
Ring 2: choice and replacement detailsA · Setup requirements+1 to All Skills · mana | |||
Mercenary and weapon swap
| Slot | Advanced A | Budget B | Conditions |
|---|---|---|---|
| Mercenary | A Act 2 Prayer  Runeword InsightEthereal elite polearmRuneword Fortitude  Andariel's Visage(Ral) | B Act 2 Prayer Runeword InsightRuneword Treachery Tal Rasha's Horadric Crest | Maintain aura range and mercenary survival |
Mercenary detailsDeveloping an Insight mercenaryUpgrade the Insight mercenary to an ethereal elite polearm to improve first-kill damage. Use Ral in Andariel's Visage to offset its -30 fire resistance; Tal Rasha's Horadric Crest can be equipped from level 66. A: when switching to another weapon, prioritize retaining its aura or enemy resistance reduction. | |||
| Weapon swap | A Runeword Call to ArmsCrystal SwordRuneword SpiritSacred Targe | B Staff with Teleport charges | A Shield requires 86 Strength · B Lower block/resistances while holding the staff |
Swap detailsCombat preparationCast Battle Command and Battle Orders, return to primary gear and activate Holy Shield. Save Teleport charges for repositioning. | |||
Upgrade order
- Obtain Spirit sword/Paladin shield and an Insight mercenary
- Set up 75% FCR, 75% block and 75% resistances
- Prepare 125% with 35% Spirit, Heart of the Oak, Arachnid Mesh and an FCR ring
- Use Enigma for movement and hammer positioning
- Add Call to Arms, Hellfire Torch and Combat Skills charms
Playstyle
- Preparing to farm
Activate warcries, Holy Shield and Concentration. Check 75% character-screen block and Hell resistances.
- Ordinary packs
Stand close and below enemies so hammer paths overlap them. If hammers miss from one spot, step aside. Use Redemption after kills to recover life and mana.
- Bosses
Keep Concentration active and stand near the boss where hammers connect immediately. Move in short steps; avoid standing in the hammer's blind spot.
- Handling immunes
Do not use Hammer against magic immunes. Against Baal's second-wave Unravellers in particular, use mercenary physical attacks and Holy Bolt; remove nearby skeleton corpses with Redemption.
- B Farming areas
Open areas around Nightmare Baal and the Hell Chaos Sanctuary work well. Narrow paths such as the Maggot Lair obstruct hammers; traverse them for progression, not primary farming.
- Transition requirements
You can start with Hammer at level 18 and mana potions, but levels 24–27, when Spirit and Insight are ready, are more comfortable. B should first exceed 75% FCR before completion.
Mechanics and notes
Concentration strengthens Hammer
Blessed Aim and Vigor are hard-point synergies and need not be active. Use Concentration while attacking; switch to Vigor for travel and Redemption after kills.
Purpose of 125% FCR
Paladin FCR: 75% gives 10 frames; 125% gives 9. B 110% is still in the 75% breakpoint, so distinguish the actual transition to A.
Calculate block after gear
Set Dexterity using Holy Shield and the shield actually equipped. The value changes with level; do not blindly copy fixed Dexterity.
Strengths, limitations and farming style
Strengths
Magic damage bypasses most elemental immunities.
Shield, auras and Redemption support survival/resources.
Limitations
Narrow terrain and hammer blind spots require positioning.
Positioning is slow before Enigma.
Additional variants
Uber support Smite
Using the base Smite 1 requires separate Grief, Crushing Blow, Life Tap and resistance gear. This is not a variant that enters Ubers in Hammer gear unchanged.
75% FCR Herald of Zakarum
Replacing Spirit with Herald of Zakarum loses the shield's 35% FCR. Treat this as a survival variant at the 75% breakpoint, slower than the base 125%, and readjust Dexterity.