





Core requirements
The advanced setup is A, and the budget setup is B.
- Baseline variant
- Meteorb
- Hard points
- Level 90 · 101 points
- Cast rate
- A 115% / B 110%
- Dealing with immunities
- Alternate cold and fire
Attributes
Total attributes with equipment · hard points shown separately
| Strength | A·B 156Hard points A 74 / B 146 · maintained on swap |
|---|---|
| Dexterity | 0 hard pointsNo maximum block |
| Vitality | All remaining pointsHard points A 386 / B 314 |
| Energy | 0 hard points Insight, Warmth and potions |
Attribute calculations and equipment changes
Strength
Sorceress base Strength: 10. A uses Chains of Honor 20, Sandstorm Trek 15, Mara's 5, Torch 15, Annihilus 15 and Harlequin Crest 2, plus 74 allocated points, for 156 Strength to equip a Spirit Monarch. B allocates 146 points without Strength bonuses. Only bonuses from equipment retained on swap are counted; add points if your item rolls leave a shortfall.
Dexterity
A meets the Flail's Dexterity requirement through Torch and Annihilus. B uses a Crystal Sword and Monarch. Do not add Dexterity for defense or block chance.
Vitality
From 460 stat points at level 90, A 74 Strength, B subtract 146 Strength points and put the remaining 386/314 into Vitality. This assumes all 15 stat points from quests and counts only equipment bonuses retained on swap.
Energy
A/B both use Vitality without Energy Shield. Equipment, Warmth, an Insight mercenary and potions sustain mana.
Skills
Level 90 · 101 hard points
Main skills and synergies
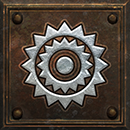
Prerequisite · support 1 point each

Includes 12 quest points; equipment skill bonuses are excluded. Unlisted skills have 0 points. A and B use the same allocation.
Investment order
Early game  Fire Ball to progress, then from level 30, raise
 Frozen Orb.
 Teleport·
 Static Field·
 Warmth are each secured.
Frozen Orb 20· Cold Mastery Once the baseline points are in place, Fire Ball 20 and Meteor 20 are completed. At level 90, the allocation is Cold Mastery 10·
 Fire Mastery 17.
At 91–93, invest in Fire Mastery 20 ; put the 6 points from levels 94–99 into  Fire Bolt 7 . Farming only areas dominated by fire immunes requires a separate respec toward cold.
Equipment skill bonuses and allocation notes
The image and baseline allocation show Meteorb. Hydra Orb is a separate 23-point exchange described below.
Includes all 5 Frozen Orb prerequisite points and 5 points in mobility, Static Field, Warmth and armor.
A·B Shared · Level 90, 101 points
Open this allocation in the simulator ↗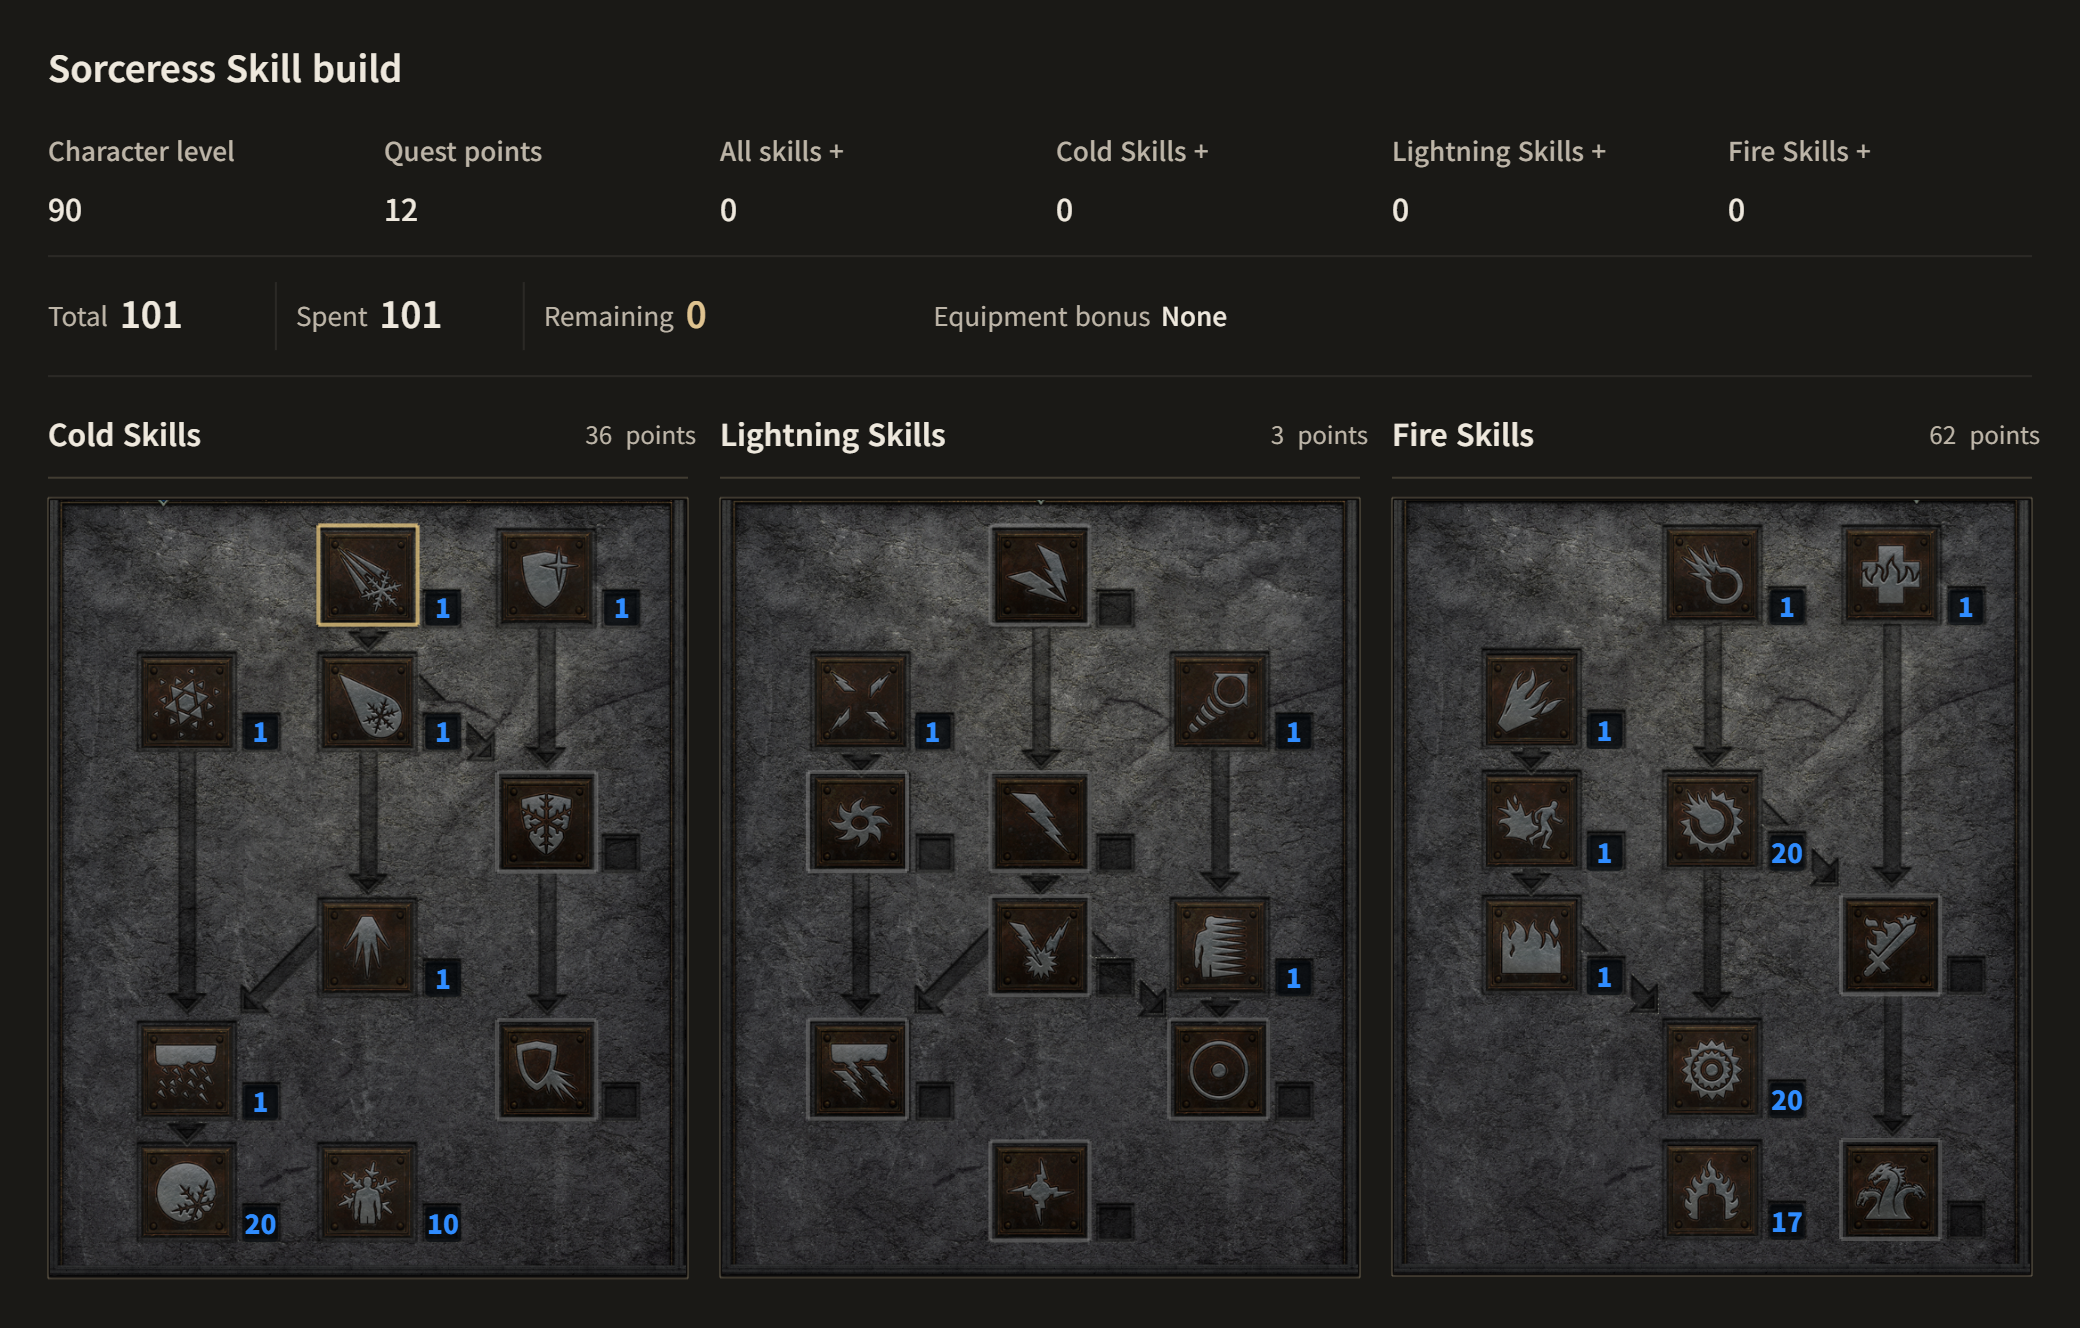
Equipment
A / B: compare modifiers and replacement requirements.
| Slot | Advanced A | Budget B | Conditions |
|---|---|---|---|
| Weapon | A Runeword Heart of the Oak | B Runeword Spirit | All Skills boosts cold and fire together |
Weapon choice and replacement detailsA · Setup requirements4-socket Flail 40% FCR · at least 30 all resistances B · Setup requirements4-socket Crystal Sword Target 35% Faster Cast Rate Selection rationale and replacementsThe core of the main skill damage and casting speed. B can reroll Spirit to aim for 35% FCR. | |||
| Shield | ARuneword Spirit | BRuneword Spirit | Gain FCR and mana while retaining 156 Strength |
Shield choice and replacement detailsA · Setup requirements4-socket Monarch Target exactly 35% FCR B · Setup requirements4-socket Monarch At least 25% FCR Selection rationale and replacementsMaintain the Monarch's 156 Strength requirement on swap as well. B includes even its lower roll in the FCR total below. | |||
| Helm | A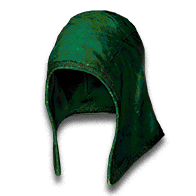 Harlequin Crest | B Runeword Lore | A +2 all skills · life / B +1 skills |
Helm choice and replacement detailsA · Setup requirements+2 to All Skills · life/mana B · Setup requirements2-socket light helm +1 skills · lightning resistance Selection rationale and replacementsA provides offensive or defensive bonuses, while B provides +1 skills at a low cost. | |||
| Armor | A Runeword Chains of Honor | B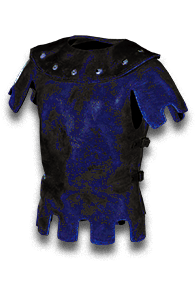 Skin of the Vipermagi | A Resistances and all skills / B 30% Faster Cast Rate |
Armor choice and replacement detailsA · Setup requirements4-socket Dusk Shroud All resistances 65 · Strength 20 B · Setup requirements30% Faster Cast Rate · all resistances Selection rationale and replacementsA has its resistances and Strength included in the charm and stat calculations. B must maintain 30% FCR. | |||
| Gloves | A Magefist | BMagefist | Boost fire attacks, Warmth and 20% FCR |
Glove choice and replacement detailsA · Setup requirements20% Faster Cast Rate · mana regeneration B · Setup requirements20% FCR · boosts Warmth Selection rationale and replacementsMagefist's 20% FCR counts toward the casting total. Its +1 Fire Skills applies to fire spells and Warmth. | |||
| Belt | A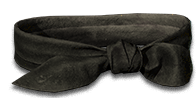 Arachnid Mesh | B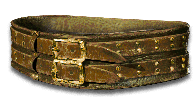 Nightsmoke | A All skills and FCR / B Resistances |
Belt choice and replacement detailsA · Setup requirements20% Faster Cast Rate · +1 to All Skills B · Setup requirementsAll resistances 10 · Mana 20 Selection rationale and replacementsB returns mana based on physical damage actually dealt to life. Damage Taken Goes to Mana does not refund all damage or Energy Shield's mana loss. | |||
| Boots | A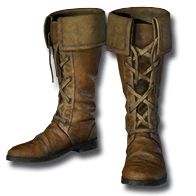 Sandstorm Trek | B Rare run/walk and resistance boots | A Strength 15 / B Missing resistances |
Boot choice and replacement detailsA · Setup requirementsTarget 15 Strength · poison resistance Selection rationale and replacementsFaster run/walk and resistances help you reposition. A requires stat adjustments if the assumed 15 Strength roll differs. | |||
| Amulet | A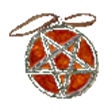 Mara's Kaleidoscope | B Sorceress skill amulet | All Skills strengthens both masteries |
Amulet choice and replacement detailsA · Setup requirements+2 all skills · at least 20 resistances Selection rationale and replacementsA offers skills and resistances; compare these with B and its lower cost. For a separate setup requiring FCR, meet that threshold first. | |||
| Ring 1 | A The Stone of Jordan | BMana/resistance ring | A Skills and mana / B Resistances and mana |
Ring 1: choice and replacement detailsA · Setup requirements+1 skills · maximum mana Selection rationale and replacementsAdds mana and skills. If resistances are low, prioritize survival over a small damage increase. | |||
| Ring 2 | AThe Stone of Jordan | BMana/resistance ring | A Second skill ring / B Survival |
Ring 2: choice and replacement detailsA · Setup requirements+1 skills · maximum mana Selection rationale and replacementsCount the combined FCR and mana of both rings. Identical rings still occupy separate slots. | |||
Mercenary and weapon swap
| Slot | Advanced A | Budget B | Conditions |
|---|---|---|---|
| Mercenary | A Act 2 Prayer  Runeword InsightRuneword Fortitude  Andariel's Visage | B Act 2 Prayer Runeword InsightRuneword Treachery Tal Rasha's Horadric Crest | Life steal and resistances for survival |
Mercenary detailsOperating requirementsA/B Both use Insight's Meditation for mana recovery. The mercenary's physical attacks handle remaining immune enemies; give the mercenary life steal and resistances. A Offset Andariel's Visage's fire-resistance penalty with a Ral rune or another source. | |||
| Weapon swap | A Runeword Call to ArmsRuneword Spirit | B Keep the main weapon's mana and resistances | Battle Command → Battle Orders → main weapon |
Swap detailsOperating requirementsCall to Arms provides supporting buffs. Check all speed and resistance targets on the weapon used to attack. Battle Command does not increase synergy hard points. | |||
Upgrade order
- Use Spirit, Skin of the Vipermagi and Magefist to complete B to completion.
- First secure resistances and mercenary survival to handle dual immunes.
- Heart of the Oak, Harlequin Crest and Arachnid Mesh raise both elements together.
- Consider a Sunder Charm and a single-element respec only when repeatedly farming one area.
Playstyle
- Opening attack
Adjust your distance so Frozen Orb explodes just behind the enemy.
Opening attack: details
Details
Aim to overlap the final explosion on the target rather than merely grazing it with scattered shards.
- Fire attacks
Use Fire Ball between Orbs, placing Meteor on stationary enemies.
Fire attacks: details
Details
Fire Ball is the sustained main attack; do not just wait for Meteor.
- Identify immunities
Use fire against cold immunes and Frozen Orb against fire immunes.
Identify immunities: details
Details
Let the mercenary handle uniques with both immunities or pass them by.
- Bosses
After Static Field, combine Frozen Orb's final explosion, Meteor and Fire Ball.
Bosses: details
Details
Peak damage is lower than a single-element build, so keep the mercenary alive.
- Farming areas
Progress through quests and explore a wide range of Hell areas.
Farming areas: details
Details
Better suited to undergeared solo progression than intensive high-player-count farming.
- Leveling transition
Level with Fire Ball, then include all 5 cold prerequisite points when respeccing.
Leveling transition details
Details
Listing only Frozen Orb 20 and omitting prerequisites such as Blizzard does not match the actual 101-point allocation.
Mechanics and notes
The two elements' roles
Frozen Orb and Fire Ball do not synergize each other. Cold Mastery and Fire Mastery also apply separately to their own elements.
Shared equipment and casting speed
Equipment that raises all skills boosts both elements. A 115%·B has 110% FCR, maintaining the 105% breakpoint for ordinary spells.
Adjusting mastery
Use Cold Mastery with equipment to lower ordinary cold resistance, but reduction beyond the -100% floor adds no benefit against that enemy. Against sundered immunes, Cold Mastery applies at 1/5 effectiveness.
Strengths, limitations and farming style
Strengths
Two elements allow Hell progression without a Sunder Charm.
A single immunity is less likely to stop the whole run.
Limitations
Main damage is lower than an advanced single-element build.
Dual-immune and Magic Resistant uniques require more mercenary support.
Additional variants
Hydra Orb · exact point exchange
Remove Meteor 20, Inferno 1, Blaze 1 and Fire Wall 1, freeing 23 points. Put 20 into Hydra, 1 into Enchant and 2 extra into Fire Mastery, bringing mastery to 19. Everything else stays unchanged, totaling 101 points. This separate allocation places Hydras first, with Orb and Fire Ball supporting them.
Tal Rasha's set
An alternative using the set's all resistances, mana and magic find. When replacing one piece, do not retain the current A FCR total unchanged. Recalculate the completed set's FCR and the Spirit roll.