


Core requirements
The advanced setup is A, and the budget setup is B.
- Pierce
- 100%
- Attack speed
- A 55% · B 65%
- A Cast rate
- 70% (minimum 68%)
- Fire / lightning
- 75%
Attributes
Meet equipment requirements, then invest in Vitality
| Strength | A 156 · B 65Total attributes · A Meet swap requirements · exclude Titan's +20 |
|---|---|
| Dexterity | 109Total · exclude Titan's +20 |
| Vitality | All remaining pointsAfter meeting Strength and Dexterity requirements |
| Energy | 0 hard pointsUse equipment and potions |
Attribute examples and equipment changes
Strength
A keeps the Monarch's 156 Strength requirement even on the Call to Arms + Spirit swap. Invest only what remains after Enigma and confirmed charm bonuses; do not rely on Titan's Revenge's +20 Strength to equip the shield. At level 90, Enigma gives +67 Strength; with +15 attributes each from Torch and Annihilus, 59 base Strength is one example. B meets Natalya's Soul's 65 and Grim Shield's 58 requirements. Without charms, use 65 base Strength. Recalculate 156 when changing to Spirit.
Dexterity
Normal, non-upgraded Titan's Revenge requires 109 Dexterity. Count Razortail, Raven Frost and charms, but do not rely on the javelin's own +20 to equip it initially. The default setup does not pursue 75% maximum block. B needs 94 base Dexterity with only Razortail's +15 and no charms. A to B: recheck requirements if you removed Raven Frost or charms during the change.
Vitality
Prioritize life over compensating for Spirit's low block efficiency with Dexterity. Use Decoy, Valkyrie and your mercenary to keep distance; approach bosses only to use Charged Strike. B also invests every remaining point in Vitality. A: recalculate Strength and Dexterity, including Enigma and charm bonuses, when changing setups.
Energy
Use mana from gear, Mana after Each Kill, and potions. A drops Insight, so always carry mana potions. B uses Insight's Meditation and Manald Heal. Mana leech applies only to physical damage; lightning damage cannot leech mana.
Skills
Level 90 · 101 hard points
Main skills and synergies — A/B Shared
A / B · hard-point difference
B moves 5 points from Lightning Bolt to Pierce. Keep Pierce at level 9 or higher with equipment.
Prerequisite · support 1 point each


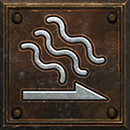









Includes 12 quest points; excludes equipment skill bonuses. Impale, Fend and Bow/Crossbow skills have 0 points.
Investment order
- Secure prerequisites/support at 1 point each and
 Pierce(A 1 / B 6) first
 Lightning Fury 20
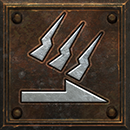 Charged Strike 20
 Power Strike 20
 Lightning Strike 20
 Lightning Bolt.
Level 75 allocation and equipment skill bonuses
Until unlocking level 75 B
Until unlocking level 75 B · 86 points with quests completed: Lightning Fury 20 / Charged Strike 20 / Power Strike 20 / Lightning Strike 7 / Lightning Bolt 1, plus the remaining B 18 prerequisite/passive points. At level 88, Lightning Strike reaches 20; at 89–90, Lightning Bolt goes 2→3.
A Pierce
A equipment alone gives Pierce 1 + 8 bonus skills = level 9. Add Titan's Revenge 2, Griffon's Eye 1, Enigma 2, Spirit 2 and Highlord's Wrath 1. Torch, Annihilus and Battle Command are excluded from this minimum.
B Pierce
B gets Pierce 6 + Titan's Revenge 2 + Lore 1 = level 9. Javelin skill bonuses on gloves do not apply to Pierce. A: use the separate allocation that moves 5 Lightning Bolt points to Pierce.
Equipment skill bonuses and respecs
Equipment bonuses to the main skills are A: +12, B: +7 (excluding charms and Battle Command). The main skills with 20 hard points therefore reach level 32 / level 27. As long as the Pierce requirement remains satisfied, B can move 1 hard point from Pierce to Lightning Bolt for each +1 additional skill bonus that affects passives. Reallocate spent points with an Akara respec or Token of Absolution. A with an Amazon Torch +3 and Annihilus +1 reaches level 36 in both main skills and level 13 Pierce; Battle Command adds 1 more to each. Javelin skill charms add only to the main skills.
A · Level 90 complete allocation
Open this allocation in the simulator ↗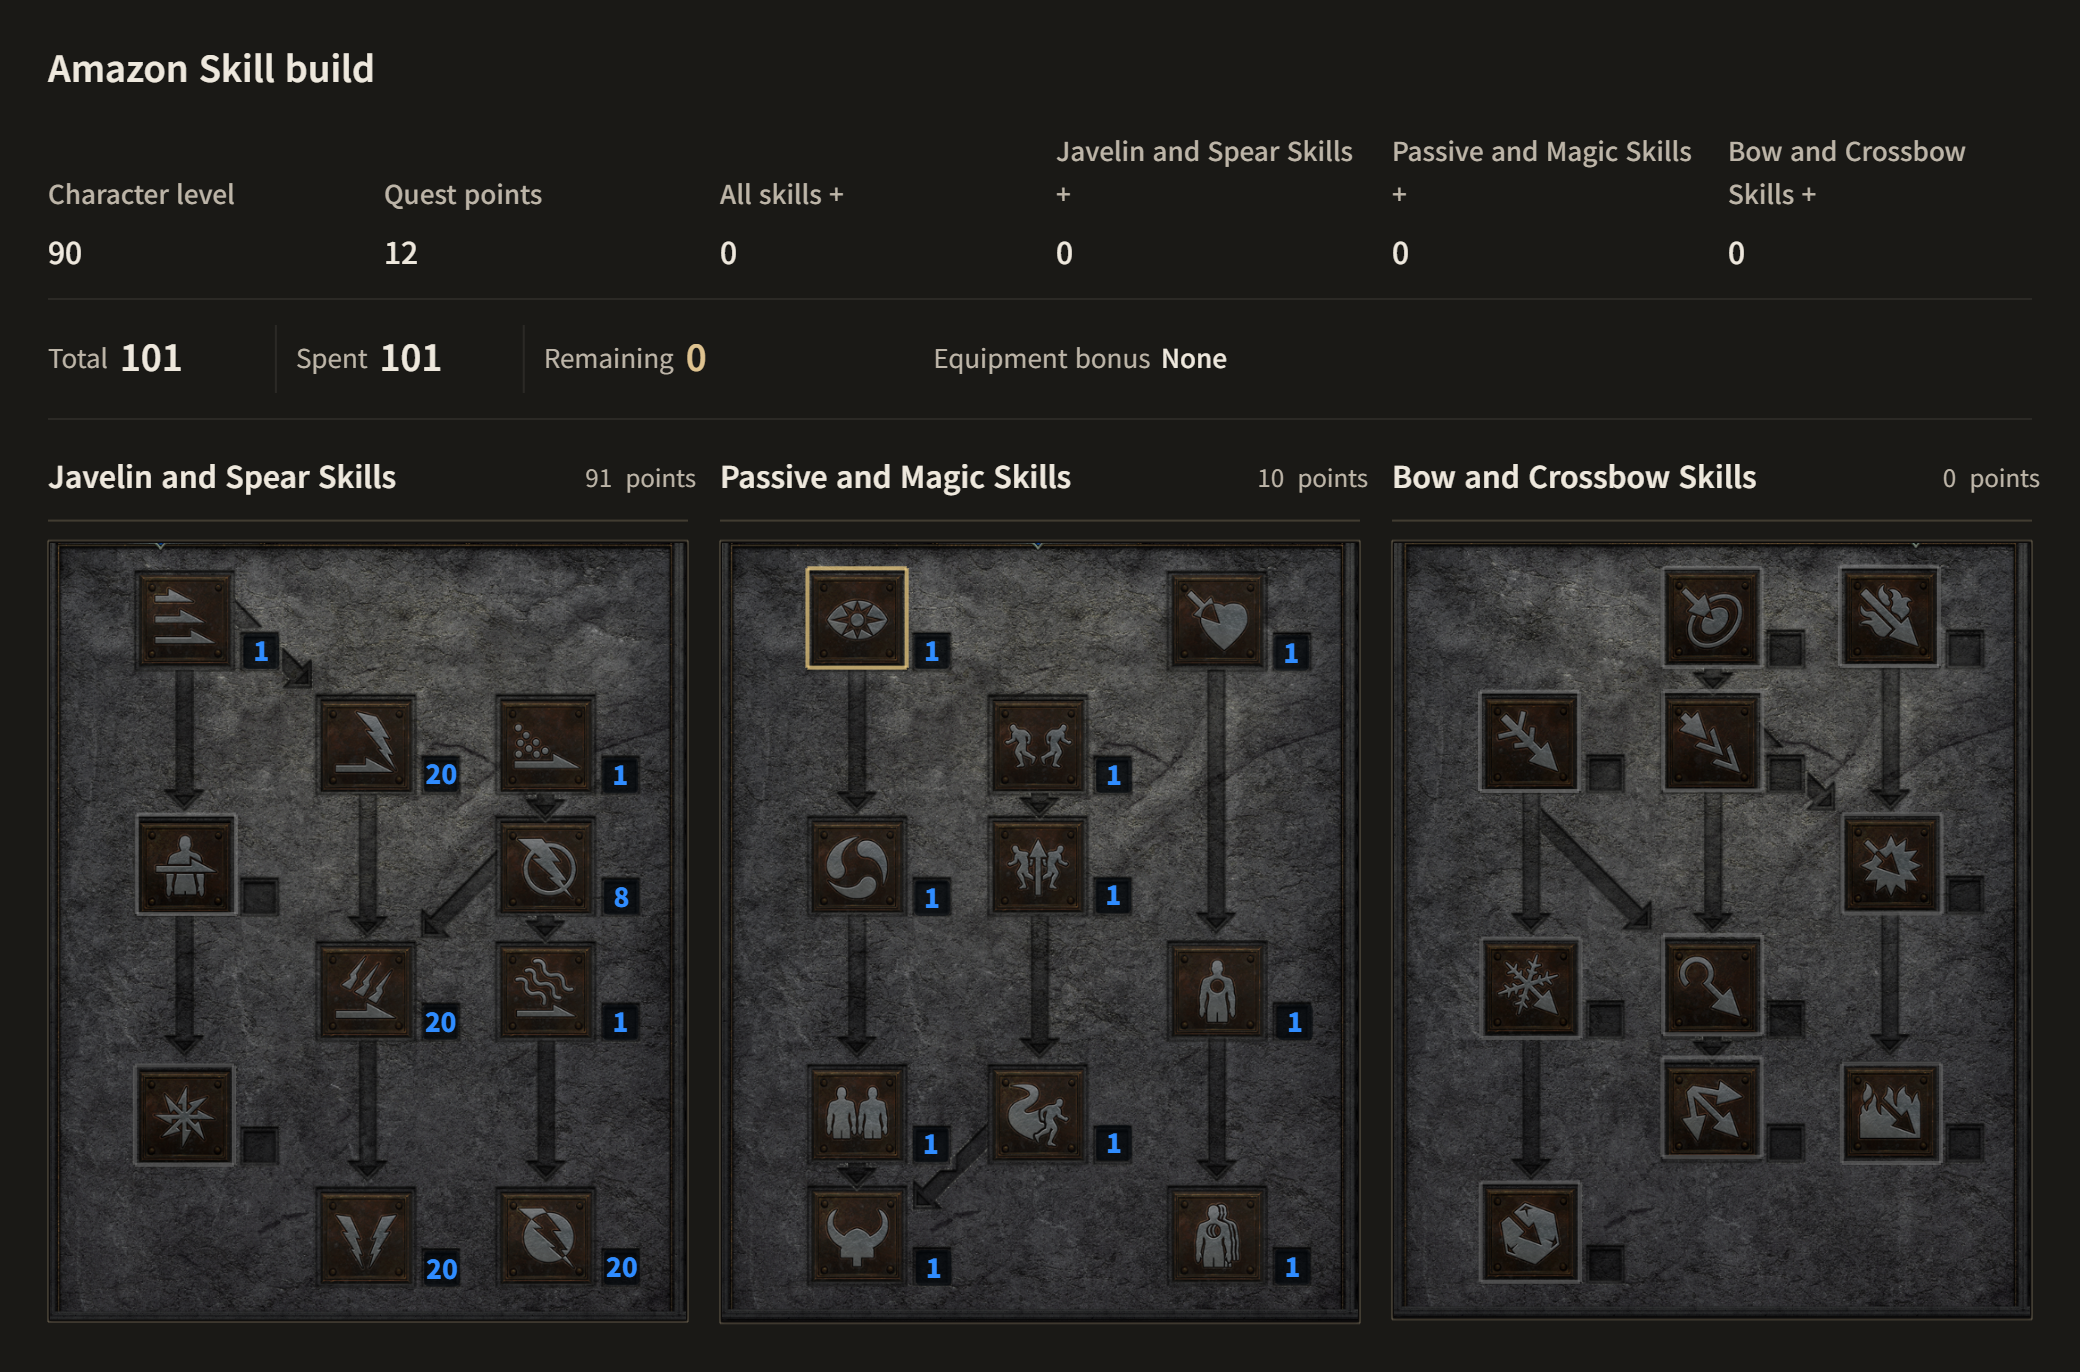
B · Level 90 allocation
Open this allocation in the simulator ↗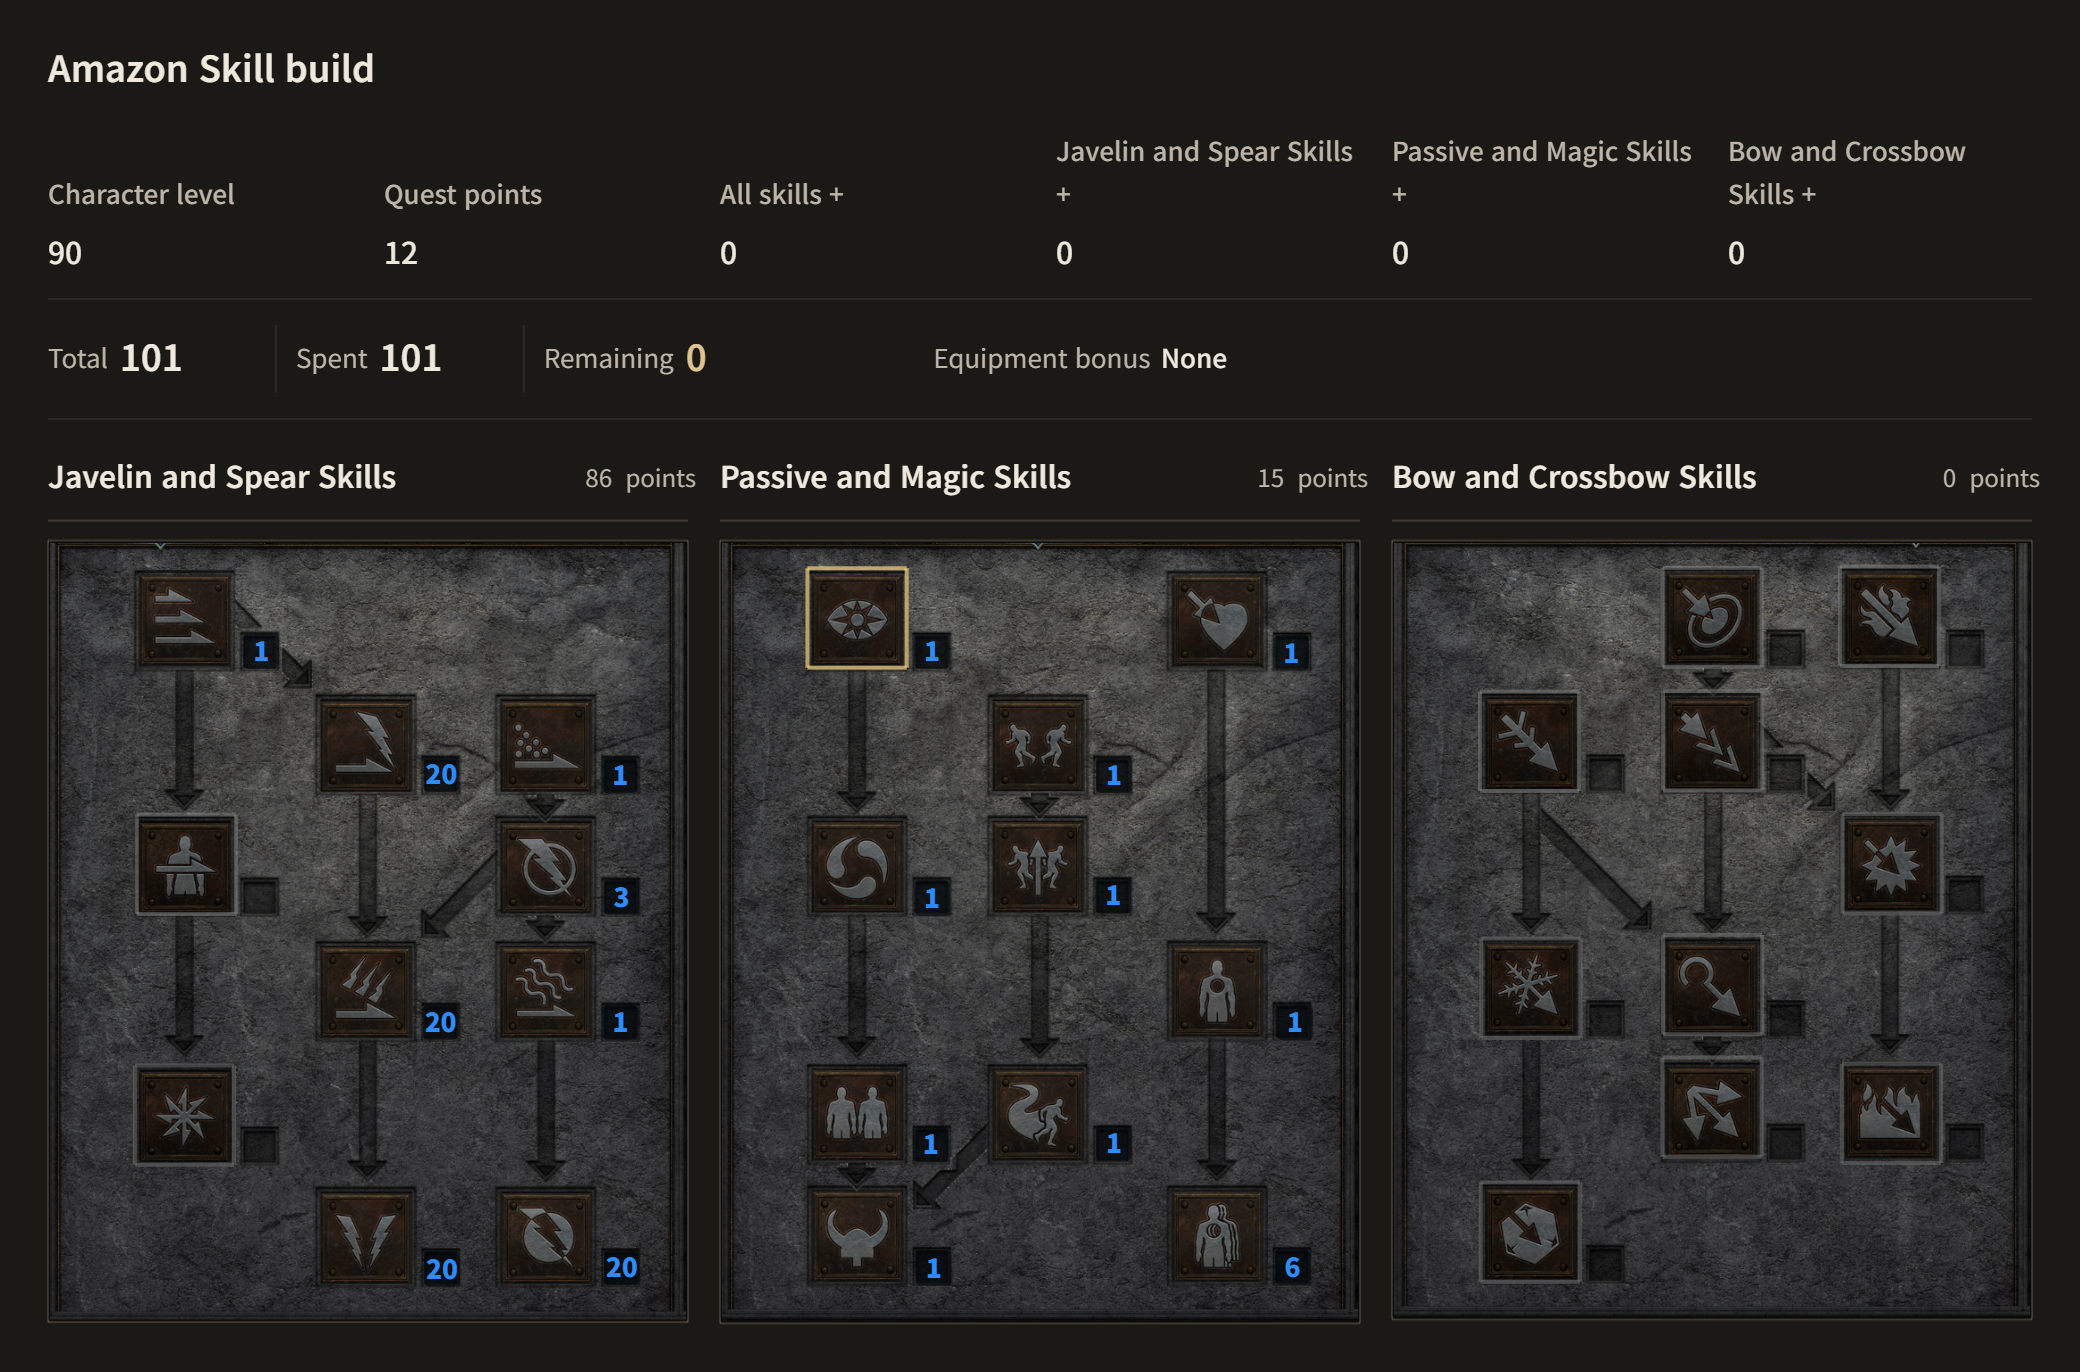
Equipment
A / B: compare modifiers and replacement requirements.
| Slot | Advanced A | Budget B | Conditions |
|---|---|---|---|
| Weapon | A Titan's Revenge | BTitan's Revenge | Start non-ethereal and non-upgraded; ethereal is optional |
Weapon choice and replacement detailsA · Setup requirementsNon-ethereal · Ceremonial Javelin · not upgraded +2 Amazon skills · +2 Javelin and Spear Skills · replenishes quantity B · Setup requirementsNon-ethereal · not upgraded +2 Amazon skills · +2 Javelin and Spear Skills · replenishes quantity QuantityRepairing a non-ethereal copy at a vendor restores quantity immediately. Ethereal does not increase lightning damage itself and requires waiting for quantity to replenish. Before acquiring itIf you do not have it yet, farm Nightmare with vendor javelins. Before obtaining Titan's, your Pierce bonuses and attribute requirements differ from this B setup. | |||
| Helm | A Griffon's Eye | B Runeword Lore | A uses a fixed 15% IAS jewel · B gets additional IAS from Treachery |
Helm choice and replacement detailsA · Setup requirements1 socket · 15% increased attack speed / 15 all-resistance jewel Enemy lightning resistance −15~−20% · 25% faster cast rate B · Setup requirementsHelm requiring no more than 65 Strength, 2 sockets · Ort + Sol +1 to all skills · 30 lightning resistance · +2 mana after each kill A · Modifier prioritiesPrioritize reduced enemy lightning resistance before increased lightning damage. B · DifferencesLore supports Pierce and mana sustain but does not reduce lightning-immune enemies' resistance. | |||
| Armor | A Runeword Enigma | BRuneword Treachery | Treachery → Enigma: prepare jewel 15 + Highlord's 20 + gloves 20 attack speed |
Armor choice and replacement detailsA · Setup requirementsMage Plate, 3 sockets · Jah + Ith + Ber +2 to all skills · Teleport · Strength per level B · Setup requirementsArmor requiring no more than 65 Strength, 3 sockets · Shael + Thul + Lem 45% increased attack speed · 30 cold resistance · level 15 Fade A · Use and craftingTeleport repositions your mercenary to apply Conviction. Use repairable, non-ethereal armor for your character. B · FadeFade has a 5% chance to trigger when struck. Start farming with adequate resistances before it triggers instead of waiting for it. | |||
| Shield | A Runeword Spirit | BRuneword Rhyme | Rhyme → Spirit: equip Raven Frost and reach 156 Strength on swap |
Shield choice and replacement detailsA · Setup requirementsMonarch, 4 sockets · Tal + Thul + Ort + Amn 35% faster cast rate (minimum 33%) · +2 skills · 89~112 mana B · Setup requirementsGrim Shield, 2 sockets · Shael + Eth Cannot Be Frozen · 25 all resistances · mana regeneration A · Resistance setupThe shield's runes provide 35 cold, lightning and poison resistance, but no fire resistance. B · DifferencesYou lose Spirit's skills, mana, hit recovery and cast rate. Invest in Vitality instead of additional Dexterity for maximum block. | |||
| Gloves | ARare javelin glovesRequire no more than 156 Strength | BMagic javelin glovesRequire no more than 65 Strength | Keep 20% IAS · B replaces missing resistances with rings and charms |
Glove choice and replacement detailsA · Why resistances matterThe gloves compensate for resistances missing from Enigma and the Sunder Charm penalty. B · BuyingBuy from vendors or trade. +3/20 is an optional upgrade and B does not require it. | |||
| Belt | A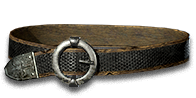 Razortail | BRazortail | Hard points in Pierce A 1 points / B 6 points · at least level 9 with equipment |
Belt choice and replacement detailsA · Setup requirements33% piercing attack · +15 Dexterity B · Setup requirements33% piercing attack · +15 Dexterity Changing beltsReplacing Razortail with Thundergod's Vigor removes 33% piercing attack. The same level 9 Pierce then gives only 69%. | |||
| Boots | A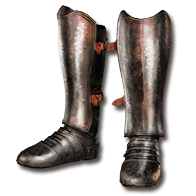 Aldur's Advance | B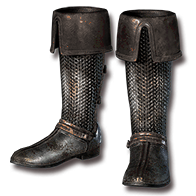 Natalya's Soul | B adds fire resistance from rings and charms |
Boot choice and replacement detailsA · Setup requirementsBattle Boots · 95 Strength 40% faster run/walk · +50 life · at least 45% fire resistance B · Setup requirementsMesh Boots · 65 Strength 40% faster run/walk · at least 20 cold and lightning resistance each A · Mana modifiersDamage Taken Goes to Mana is different from mana stolen per hit or Mana after Each Kill. B · Set requirementsYou do not need the full Natalya's set. | |||
| Amulet | A Highlord's Wrath | BRare resistance / mana amuletBaseline assumes no skill bonus | B Assumes no +skills on the amulet · an extra +1 allows Pierce reallocation |
Amulet choice and replacement detailsA · Setup requirements20% increased attack speed · +1 to all skills · 35% lightning resistance A · Deadly StrikeDeadly Strike applies only to physical damage and does not double lightning damage. B · With additional skill bonusesWith +1 Amazon Skills, you may move 1 hard point from Pierce to Lightning Bolt. Keep Pierce at level 9 including equipment. | |||
| Ring 1 | A Raven Frost | BManald Heal | Cannot Be Frozen: A Raven Frost / B Rhyme |
Ring 1: choice and replacement detailsA · Setup requirementsCannot Be Frozen · 15~20 Dexterity · +40 mana B · Setup requirements4~7% mana stolen per hit · 20% mana regeneration A · Cannot Be Frozen coverageIt prevents chill from slowing attacks, but does not negate Holy Freeze. B · How modifiers applyMana leech works only on physical javelin hits, so potions remain necessary. The new 3.3 Ladder version's 10% FCR is B excluded from the required setup. | |||
| Ring 2 | ARare cast-rate ringExtra mana and life come next | BRare resistance / mana ringPrioritize fire and lightning resistance | A Total FCR 70% (minimum 68%) · B does not require FCR |
Ring 2: choice and replacement detailsA · Mana sustainMana stolen per hit applies to physical javelin damage. Use potions for lightning damage or enemies that cannot be leeched. B · Low resistance rollsIf rolls are below the targets, cover the difference with Small Charms. | |||
Mercenary and weapon swap
| Slot | Advanced A | Budget B | Conditions |
|---|---|---|---|
| Mercenary | A Act 2 Might  Runeword Infinity  Andariel's Visage(Ral)Runeword Fortitude | B Act 2 Prayer Runeword Insight Tal Rasha's Horadric CrestRuneword Treachery | A keeps Conviction active · B secures Meditation and life leech |
Mercenary detailsA · Base items and rune orderNightmare Act 2 Might mercenary + Infinity (ethereal 4-socket Mancatcher, Ber · Mal · Ber · Ist) + Andariel's Visage (Ral rune) + Fortitude (ethereal 4-socket Archon Plate, El · Sol · Dol · Lo). Might supports the mercenary's physical damage and life leech; Infinity's level 12 Conviction supports your lightning attacks. Ral offsets the helm's -30 fire resistance. Revive or reposition the mercenary if dead or too far away for Conviction to reach. B · Gear and levelingPrayer mercenary + Insight (ethereal 4-socket Partizan, Ral · Tir · Tal · Sol) + Tal Rasha's Horadric Crest + Treacheryis the default. Meditation supports your mana regeneration; Prayer restores life. Check the mercenary's level and equipment requirements. Meditation ends when the mercenary dies: give potions from safety and upgrade to an elite polearm Insight for better physical kills. Tal Rasha's Horadric Crest requires mercenary level 66; before then, use Undead Crown from level 29 for life leech. | |||
| Weapon swap | A Runeword Call to ArmsRuneword SpiritMonarch | B Staff with Teleport charges | A Battle Command → Battle Orders → Battle Command · B return to your main weapons after use |
Swap detailsA · Crafting and buffsCall to Arms (normal 5-socket Crystal Sword, Amn · Ral · Mal · Ist · Ohm) + Spirit Monarch. Use Battle Command → Battle Orders → Battle Command, then return to your main weapons. Check 156 Strength on swap. Use a normal weapon base; higher Battle Orders rolls on Call to Arms are better. B · Use requirementsBuy from a vendor a staff with Teleport chargesand use it only to cross walls or recall your mercenary, not for constant travel like Enigma. Check charges and repair costs; swap only in safety. Rhyme's Cannot Be Frozen and resistances disappear while on swap. | |||
Upgrade order
- B Complete the setup: normal Titan's → Razortail → +2/20 gloves, Treachery and Rhyme → 75 fire/lightning resistance and an Insight mercenary.
- Griffon's with a 15% attack-speed jewel → Torch, Annihilus and resistance charms. Reallocate Pierce points into synergies as skill bonuses increase.
- Infinity + Renewed Crack of the Heavens with reduced enemy lightning resistance → equip the Sunder Charm and recheck 75 lightning resistance.
- When changing to Enigma, keep jewel 15 + Highlord's 20 + gloves 20 attack speed. Prepare Spirit with at least 33% cast rate, a 10 cast-rate ring, Raven Frost and 156 Strength together.
- Call to Arms → improve Griffon's, 35% Spirit and charm rolls. Ethereal Titan's, +3/20 gloves and extra skill charms come last.
Playstyle
- Prepare
Check quantity, potions and Valkyrie → A Call to Arms buffs and Conviction / B Insight and resistances before Fade activates.
Preparation details
Before farming
Refill javelin quantity and mana/rejuvenation potions, then summon Valkyrie. A returns to the main weapons after Call to Arms buffs and checks the mercenary's Conviction. B checks the Insight mercenary and resistances before Fade. Sunder charms must be in your inventory; they do not work inside the Cube.
- Packs
Group with Decoy → throw Lightning Fury through overlapping enemies → finish isolated survivors with Charged Strike when safe.
Pack-clearing details
Positioning
Place Decoy ahead and let your mercenary and Valkyrie gather enemies. Throw Lightning Fury through several overlapping targets. If the pack scatters, reposition instead of repeatedly spending mana. Finish a few survivors with Charged Strike when safe.
- Bosses
Send the mercenary in first → A check Conviction → use Charged Strike up close. Avoid dangerous attacks and give the mercenary potions.
Bosses: details
Boss combat
Let your mercenary engage and apply Conviction, then use Charged Strike repeatedly near the boss. Multiple bolts overlap on large targets. Leave room to dodge strong attacks and give the mercenary healing potions. This is more effective than repeatedly throwing Lightning Fury at a single boss.
- Lightning immunities
A uses a Sunder charm + Infinity Conviction + enemy resistance reduction. B skips these packs; use the mercenary and Jab only for a few required kills.
Lightning immunity details
Responding to immunities
A uses a Sunder charm and a living Infinity mercenary to lower immunity, then Griffon's resistance reduction to finish enemies. Reposition the mercenary for enemies outside Conviction range. B should skip immune packs. For a few required non-physical-immune enemies, isolate them with Decoy/Valkyrie and use the Insight mercenary and Jab. Skip dual lightning/physical immunes and dangerous uniques. 1-point Plague Javelin is not the main answer to Hell immunes.
- B Farming areas
Nightmare Cows and act bosses → Hell Cows after completing Hell. Avoid immune uniques, Black Souls and dangerous archer packs.
B Farming areas: details
Choosing an area
Farm Nightmare cows and Nightmare Act bosses for B gear; after clearing Hell, prioritize Hell cowsand their dense normal packs. You can leave lightning-immune uniques alive. Check Terror Zone monsters and choose areas with few lightning immunes. Black Souls, lightning-immune archer packs, and dangerous full clears of the Worldstone Keep or Chaos Sanctuary are B not recommended as first farming routes.
- Mana and quantity
Do not spam Fury at isolated enemies · mana leech needs physical damage · repair non-ethereal Titan's at vendors to refill quantity.
Mana and quantity details
Resource management
Throw Lightning Fury when enemies gather instead of repeating it against isolated targets. Mana stolen per hit comes only from physical javelin damage, not lightning. Use potions against Mana Burn, physical immunities and enemies that cannot be leeched. Repair non-ethereal Titan's Revenge at a vendor to refill quantity; ethereal copies must replenish automatically.
- Leveling and transition
Level 18 Charged Strike → level 30 Fury/Pierce → level 42 Titan's and level 43 Treachery for B preparation → level 75, 86-point allocation.
Leveling and transition details
Levels 18~29 · Charged Strike
Use Power Strike and prerequisites, then Charged Strike from level 18. Use mana potions freely and do not exceed equipment requirements when investing in Strength and Dexterity. Respeccing is easier after your equipment requirements are settled.
From level 30 · Lightning Fury
Unlock Lightning Fury and Pierce, then invest in your main skills as character level allows. Until you can invest 20 points, fill Charged Strike and prerequisites. Practice redirecting enemies with Valkyrie and Decoy.
Levels 42–75 · B transition
Titan's Revenge can be equipped at level 42, and Treachery at level 43 because of Lem. Once Razortail, IAS gloves, Rhyme and mana potions/an Insight mercenary are ready, B can farm Nightmare with a partial allocation. In Hell, reach 75 fire/lightning resistance, skip immune areas and finish quests. At level 75 with all skill quests completed, use the 86-point allocation above.
Mechanics and notes
100% Pierce is the foundation of pack clearing
Lightning Fury releases lightning again whenever the javelin pierces an enemy and hits the next target. Level 9 Pierce 69% + Razortail 33%reaches 100%. Aim through overlapping enemies rather than the edge of the pack.
Attack speed and cast rate serve different roles
Lightning Fury and Charged Strike benefit from Attack speedfor faster attacks. Cast rateis for spells such as Enigma's Teleport and summons. Titan's Revenge has no IAS; add gloves, amulet and helm jewel bonuses.
Only hard points count for synergies
Charged Strike gains +14% per 1 hard point in Power Strike, Lightning Bolt and Lightning Strike. Lightning Fury is not a Charged Strike synergy. Equipment +skills raise main skills and Pierce, but do not count as hard synergy points.
A Sunder Charm alone does not make immunes easy to kill
A sundered lightning-immune enemy has resistance of 95%. Infinity's level 12 Conviction at -85% applies at 1/5 strength to this enemy: -17%. Griffon's enemy lightning resistance reduction and the renewed Crack of the Heavens modifier apply to your attacks. A with the minimum rolls (-15, -5) gives 95−17−15−5=58%. The Infinity weapon's own -45–55% enemy lightning resistance applies only to the mercenary wearing it .
Strengths, limitations and farming style
Strengths
Strong against dense packs: Pierce and enemy density improve Lightning Fury's efficiency.
Charged Strike quickly handles act bosses.
A low budget can still maintain the main skills, attack speed and Pierce requirements.
Limitations
A requires substantial investment in Infinity, Enigma and Griffon's Eye.
B must avoid lightning-immune packs and dangerous ranged enemies.
Mana efficiency falls against sparse enemies. Manage javelin quantity and mana potions.
Additional variants
Ethereal or upgraded Titan's
Ethereal improves physical damage and leech, not lightning skill damage directly. It cannot be repaired, so account for spares and quantity replenishment. Upgrading changes Strength and Dexterity requirements. This page's 25 Strength / 109 Dexterity weapon requirements and attack-speed calculations use non-ethereal, non-upgraded Ceremonial Javelins.
Thunderstroke and lightning-jewel variants
Thunderstroke's 15% IAS and enemy lightning resistance reduction can improve boss damage. A reaches 70% total IAS if Titan's is directly replaced. Recheck quantity management, skill bonuses and attribute requirements. Variants that replace Griffon's jewel with a lightning jewel must recalculate IAS including the weapon, and should not be mixed with A the fixed recommendation.
Extra Valkyrie points · an explicit trade-off
For more defensive support, move up to 5 points from Lightning Bolt to Valkyrie (A: Lightning Bolt 8→3, Valkyrie 1→6). Charged Strike's synergy bonus falls by 70 percentage points. B keeps Lightning Bolt at its 1-point prerequisite minimum, allowing only 2 points from 3→1. The default recommendation keeps the allocation and recasts Decoy frequently.
Thundergod's Vigor and maximum block
Using Thundergod's Vigor against dangerous lightning attacks loses Razortail's 33% piercing attack. The same level 9 Pierce falls to 69%, so it does not replace the baseline Cow setup. Stormshield or maximum-block variants also change the shield, Dexterity and cast-rate breakpoint; treat them as separate setups.
LoD mode or no renewed charm
This guide uses Reign of the Warlock. In LoD mode, use Crack of the Heavens; before upgrading in RotW, use Latent Crack of the Heavensinstead. The -70 to -90 lightning resistance penalty and lack of extra enemy resistance reduction make resistance management and kill speed worse than A. If you cannot handle the resistance penalty, B is the model: remove the charm and skip immune enemies.